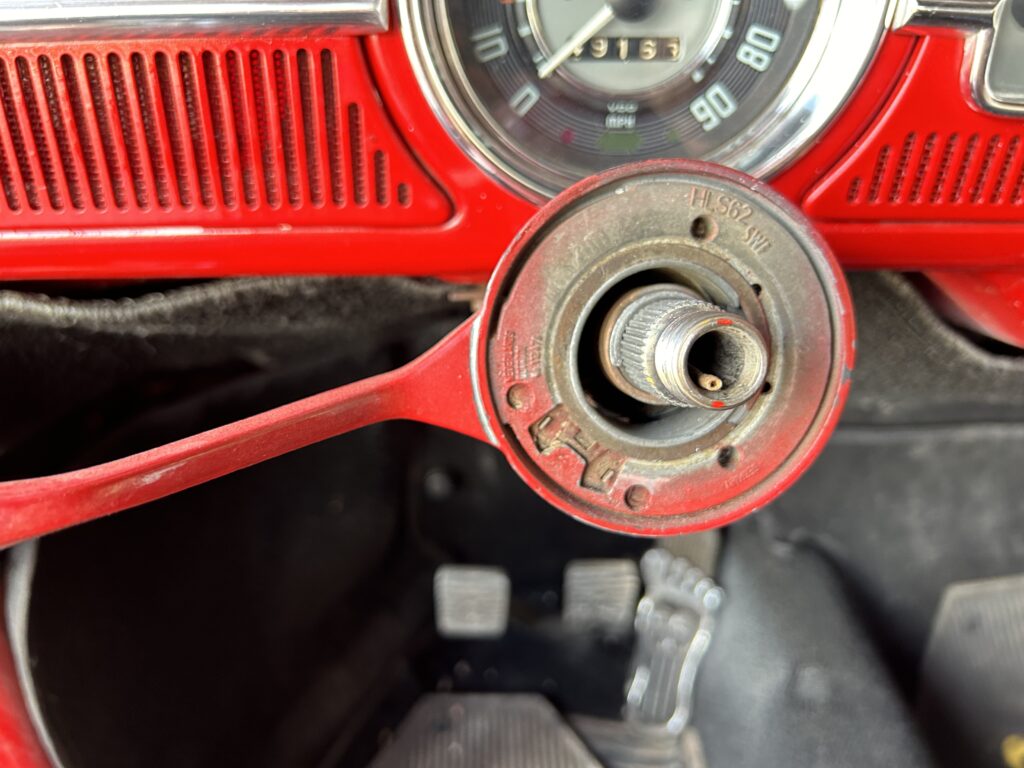
The turn single switch (lever/stalk/etc) on my 66 beetle has been iffy since I have had the baja. One of my first purchases was a replacement lever, but it was never bad enough to actually replace it. Why did I not do it right away? Well my baja is a 66, which came 6 volt, but has been converted to 12v and the wiring is… unique. The replacement I got from JBugs had 5 wires (7 actually, but who is counting) and mine used 3. Yesterday when I went for a ride in the evening I noticed that the front indicators were not lighting up. I couldn’t put this off any longer.
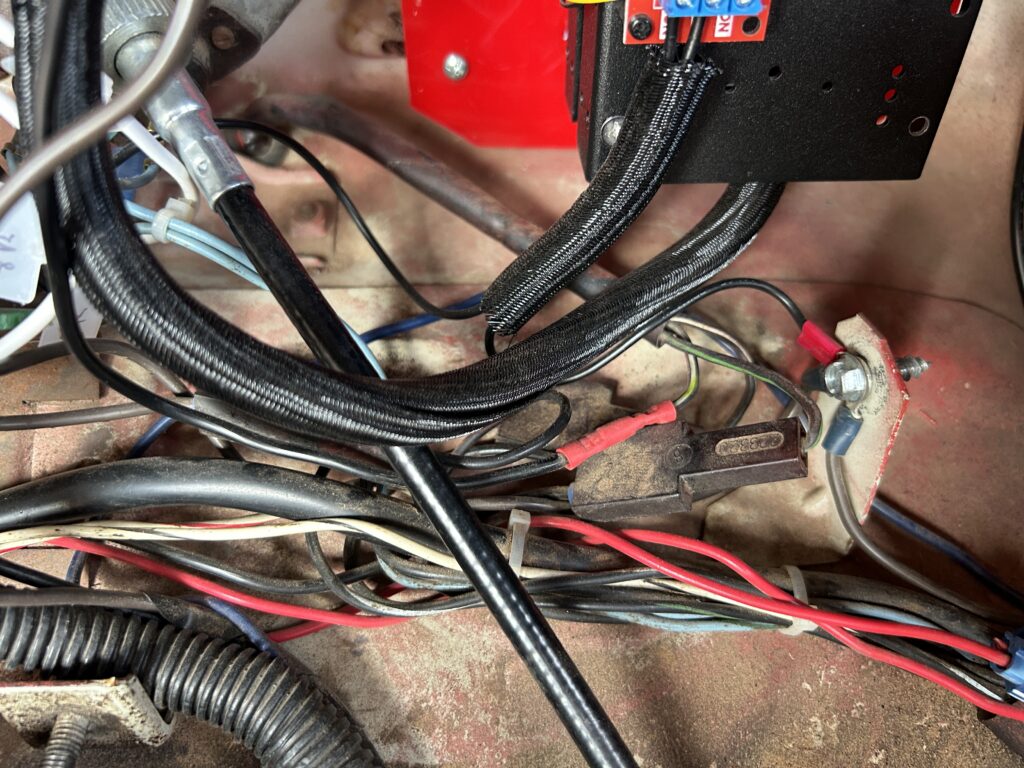
It is probably hard to tell, but only 3 wires are coming from the indicator switch.
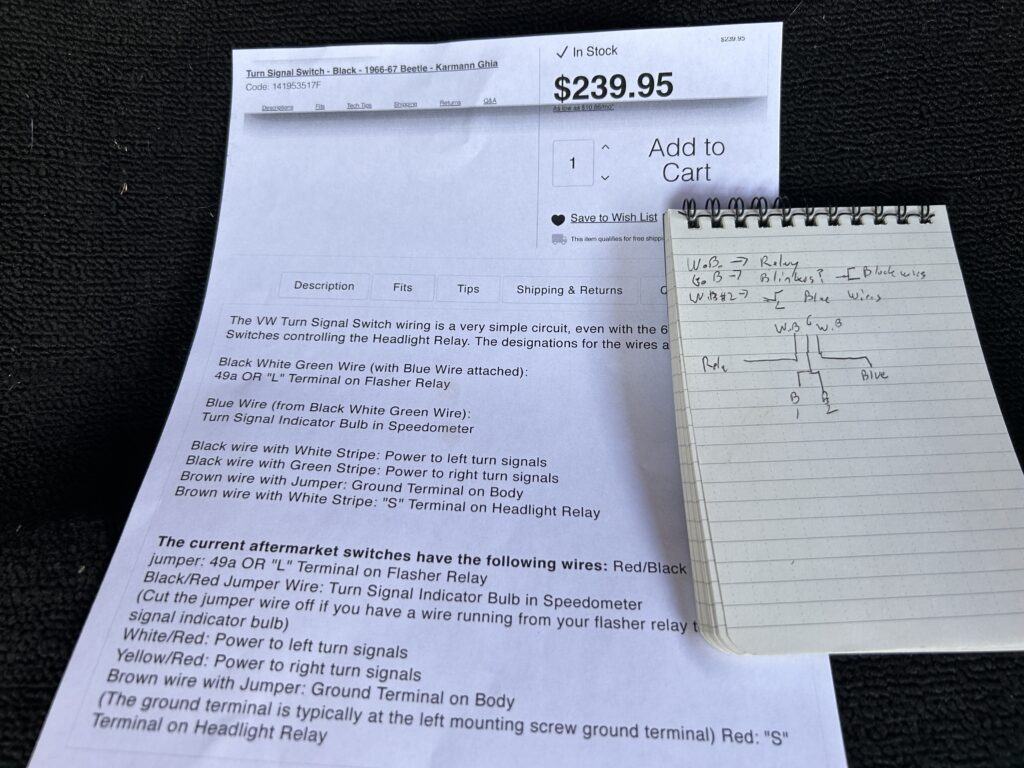
I mapped out the wiring and compared it to the super helpful “Tech Tip” from JBugs.
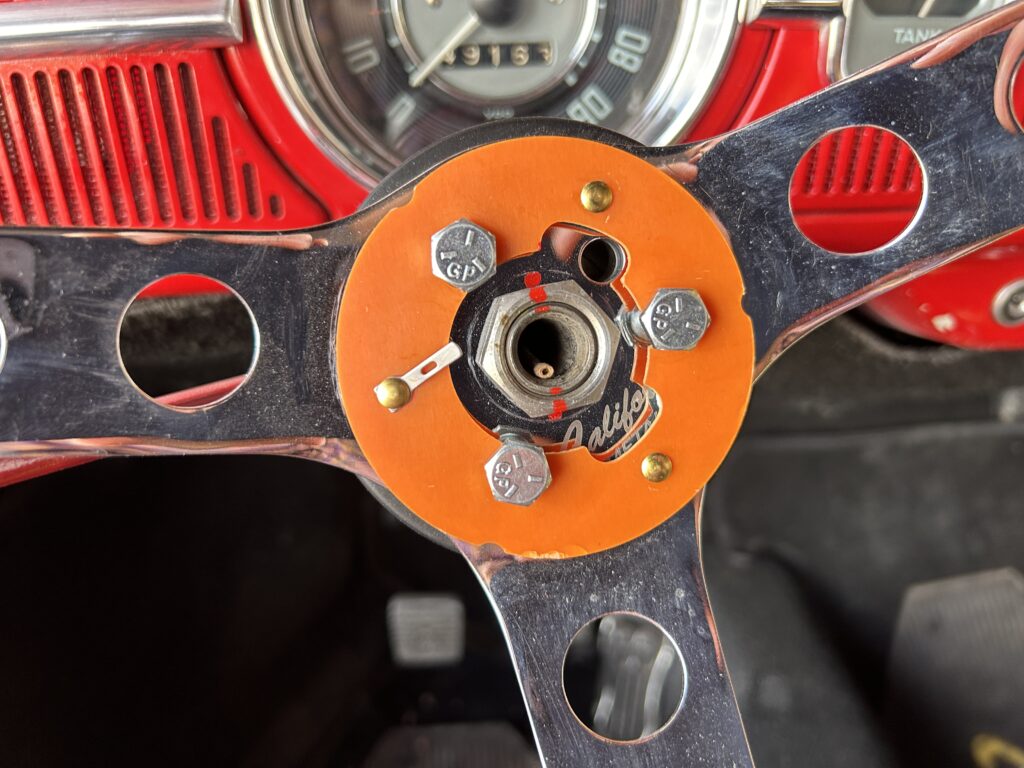
Then I took the steering wheel off, and seriously save yourself a headache of realigning the wheel by marking it with paint like I do.
Only one and in my case worn out set screw holds the lever in place. After removing that, you take the leap of faith in cutting the wires and pulling them back through the dash to put the new one on.
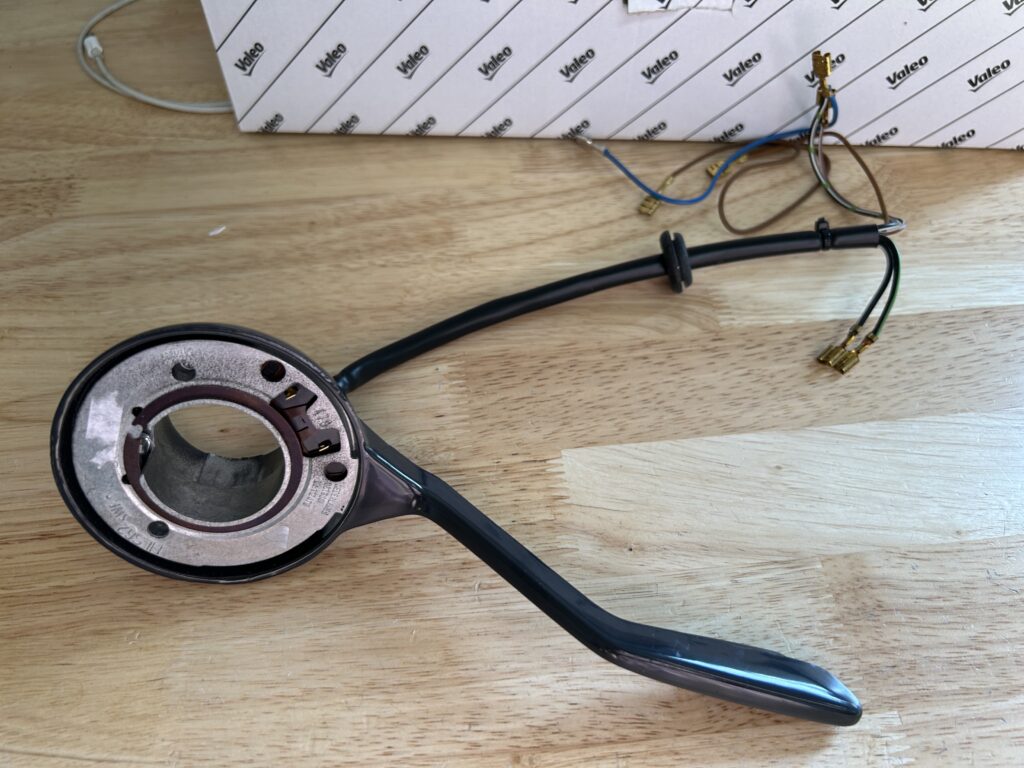
The new one albeit expensive does look incredibly well made. It is heavy and has great “action” where mine was sloppy.
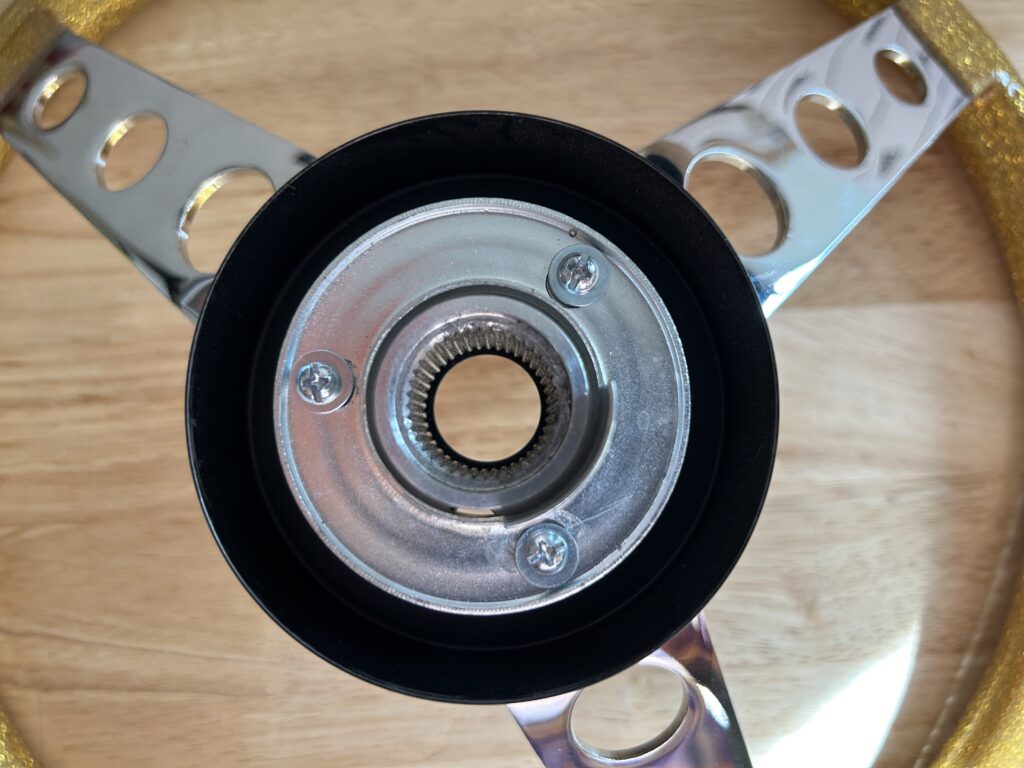
Insert all the new wires into the hole in the dash, then work the new grommet into place. I used hand sanitizer to make the grommet easier to install. I have not had a cancel ring on my beetle, so I modified a replacement ring to fit my Moon Eyes wheel and to my surprise it works!
For me, I only had three wires to hook up.
- Black-White-Green – to flasher relay
- Black-White – left turn signals
- Black-green – right signals
I had two brown wires that I capped and left aside, everything works without them. I will cut them off after a test drive or two.
The lever feels great and auto-cancels now.

Parts:
- Replacement Switch https://www.jbugs.com/product/141953517F.html
Tools:
- Phillips screwdriver
- 22mm socket
What about the nice little dimmer button? That’s probably what the 2 un-used wires are for.
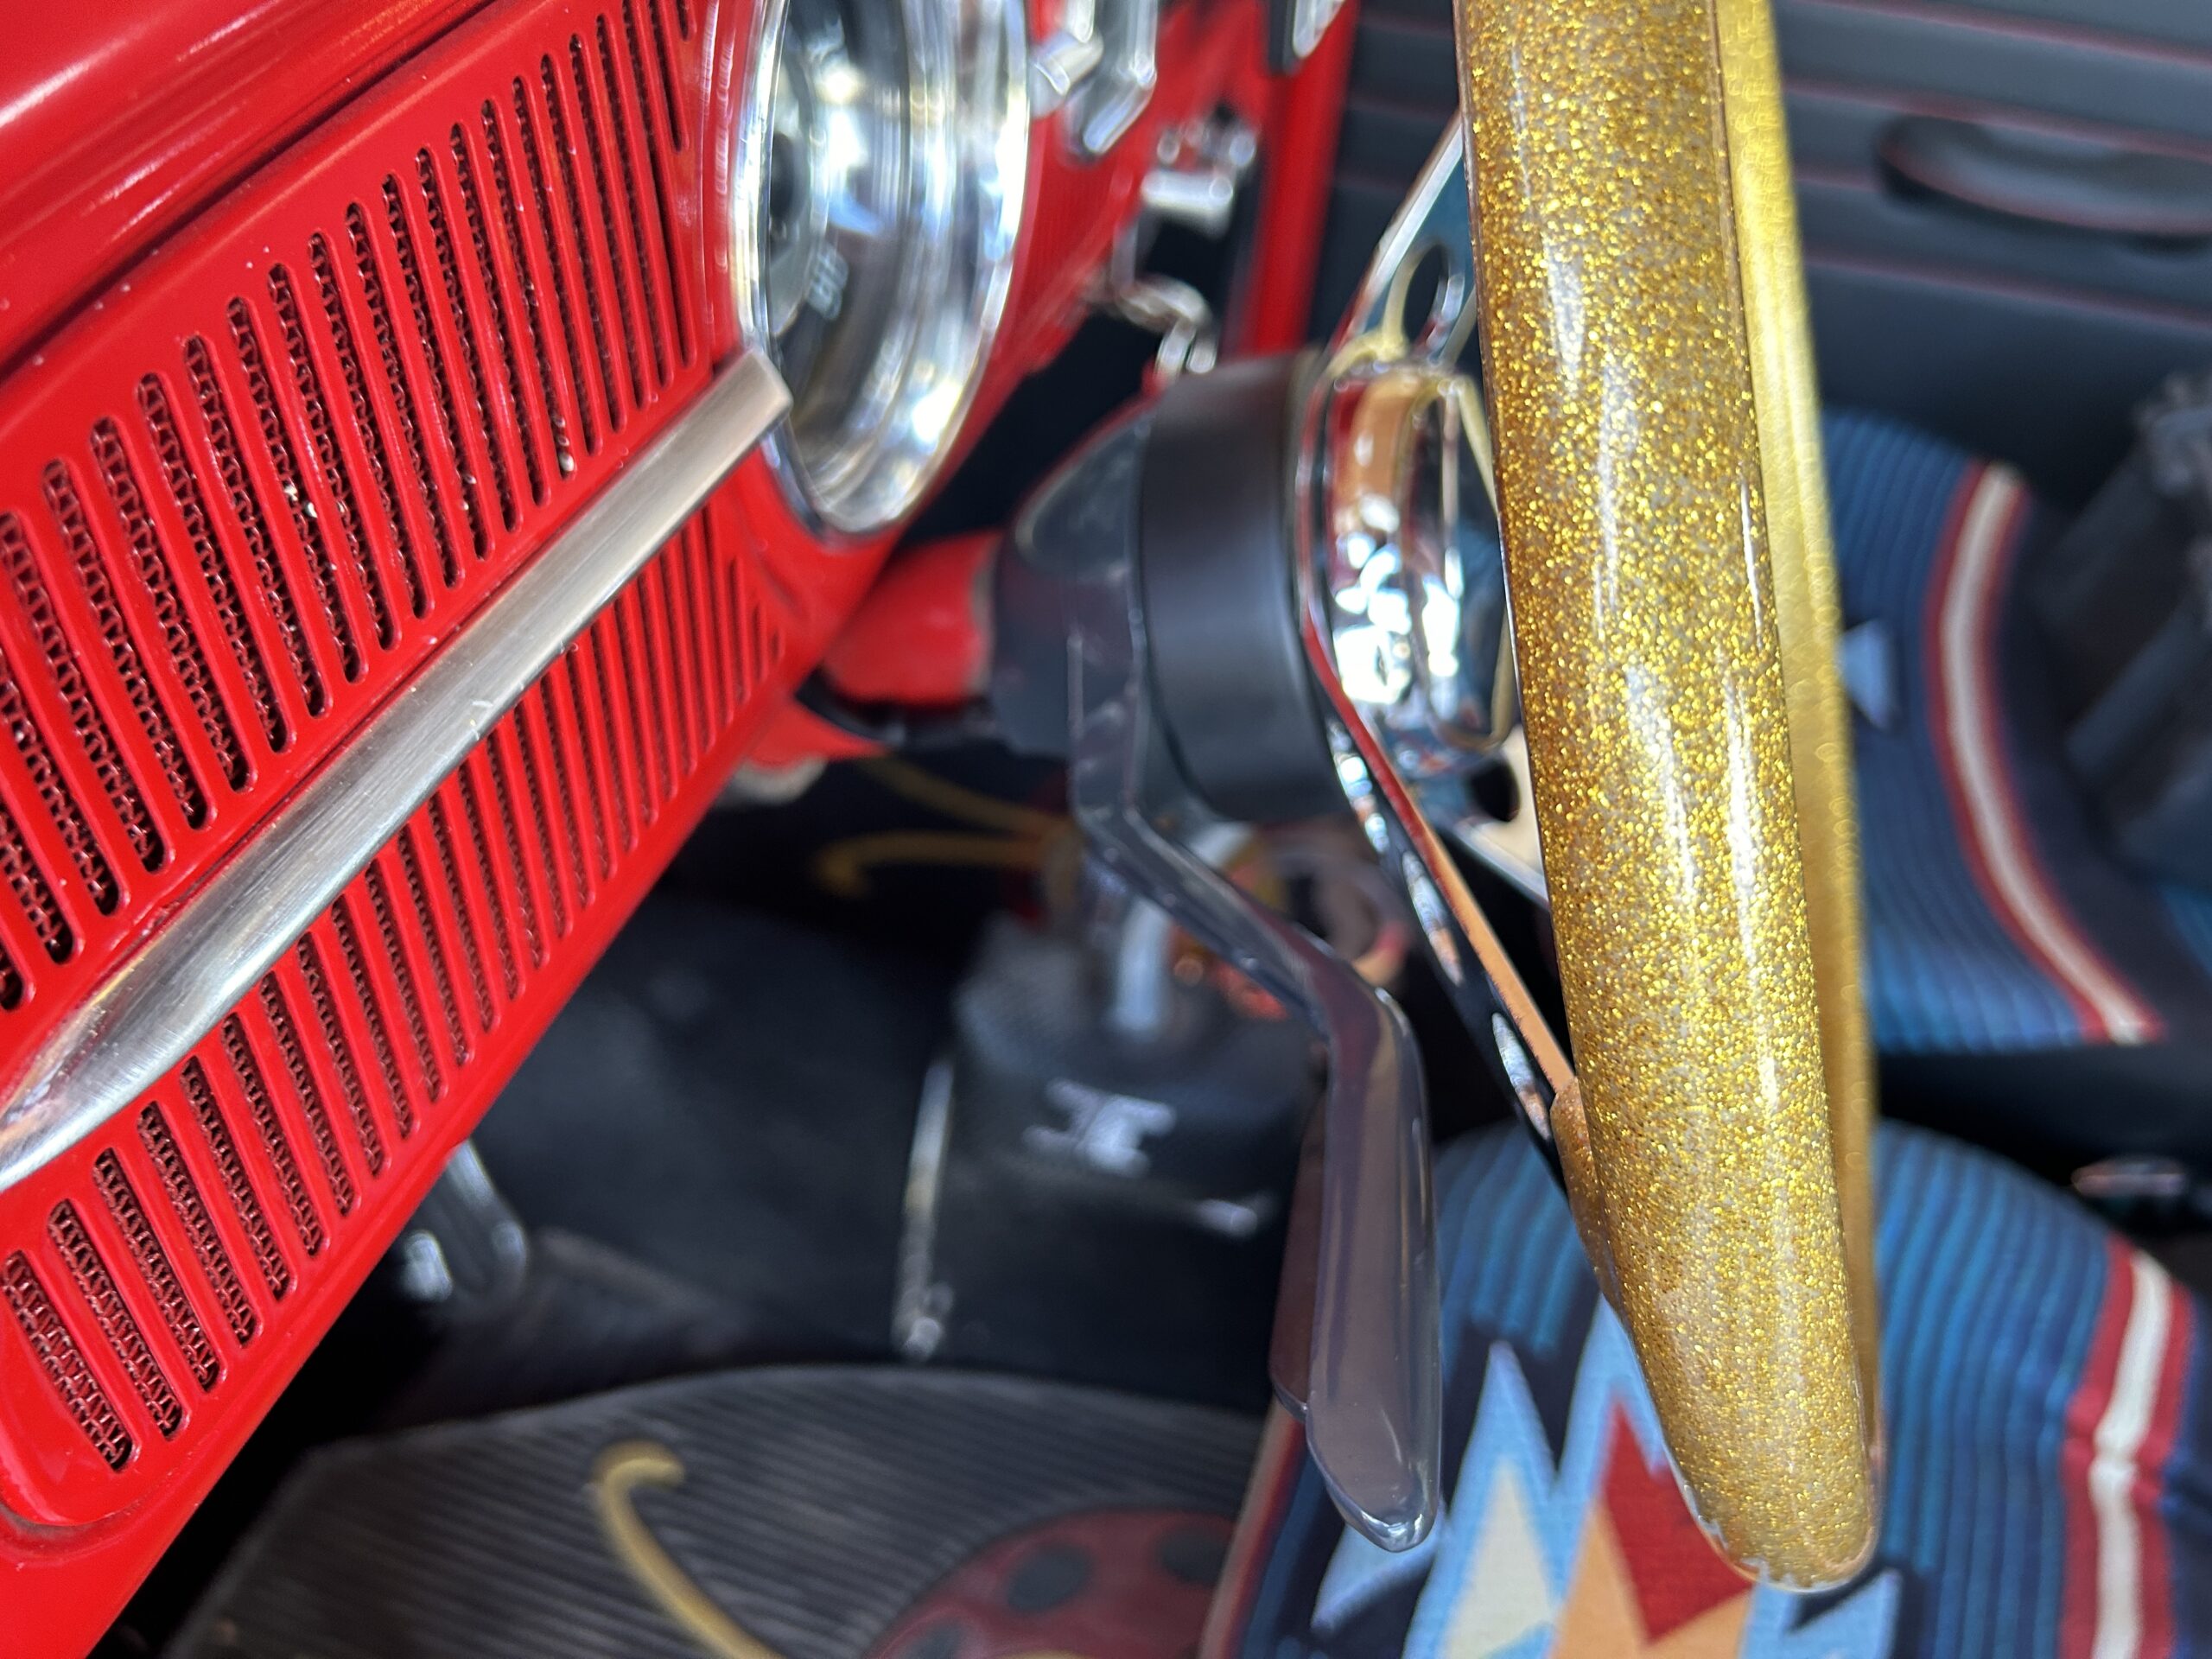
I had no idea! My beetle has a foot switch dimmer down by the clutch. I’ll think about moving to the lever.
-Joe