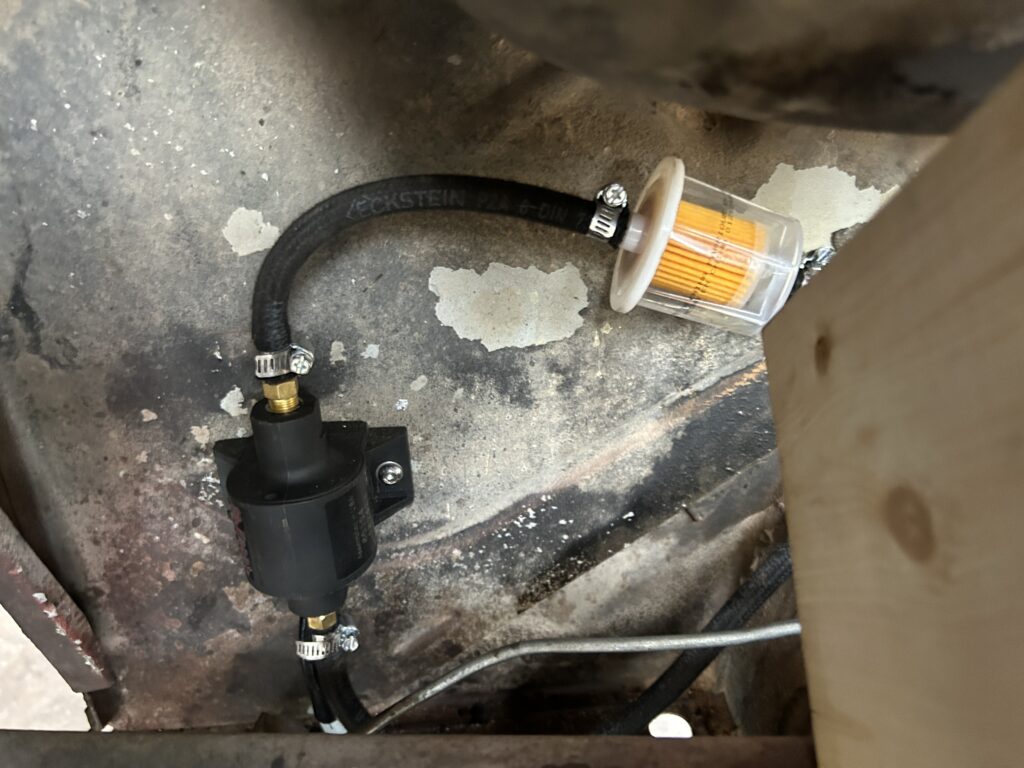
My friend Brent was telling me about his aux fuel pump set up. He uses it to solve vapor lock in the Moab summer when cruising down the highway at 60 mph and 105F. He has owned a VW garage for 50 years and I’m pretty sure he’s a wizard. When he said it’d most likely fix my hot start issue, well I knew what I’d be doing. Time to install an auxiliary fuel pump on the beetle. The pump I used is a Facet from NAPA, it is made in the USA and it does not have a positive shut off valve, meaning fuel will flow freely through it when not in use. Which is what you want in a not always on pump,
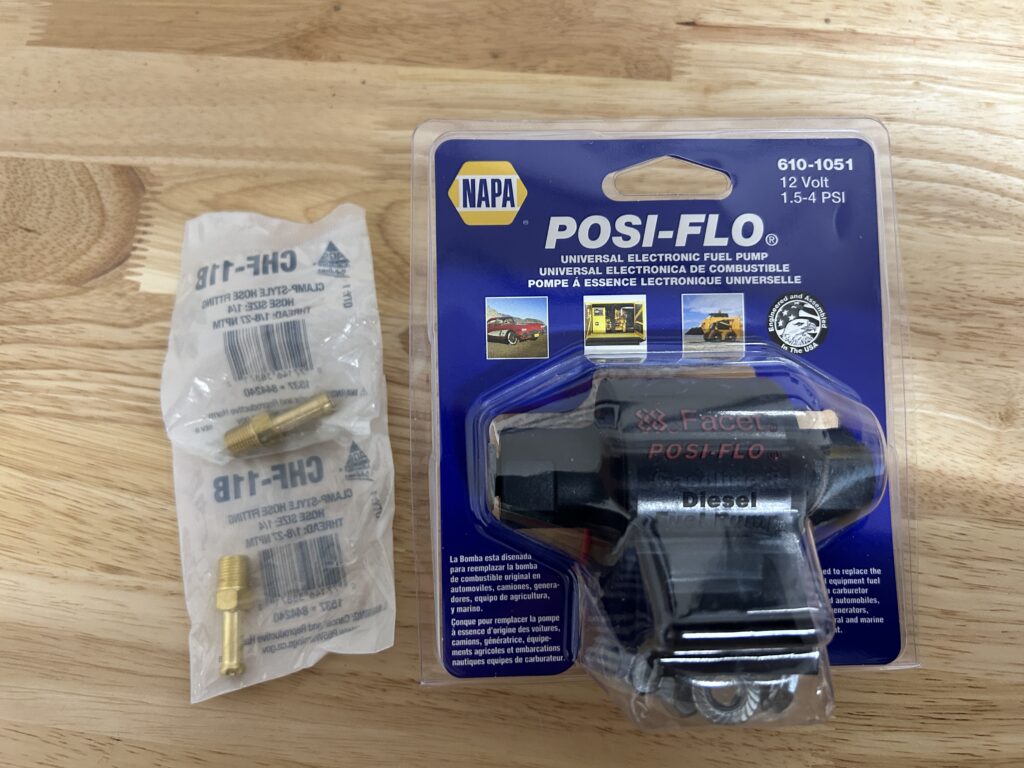
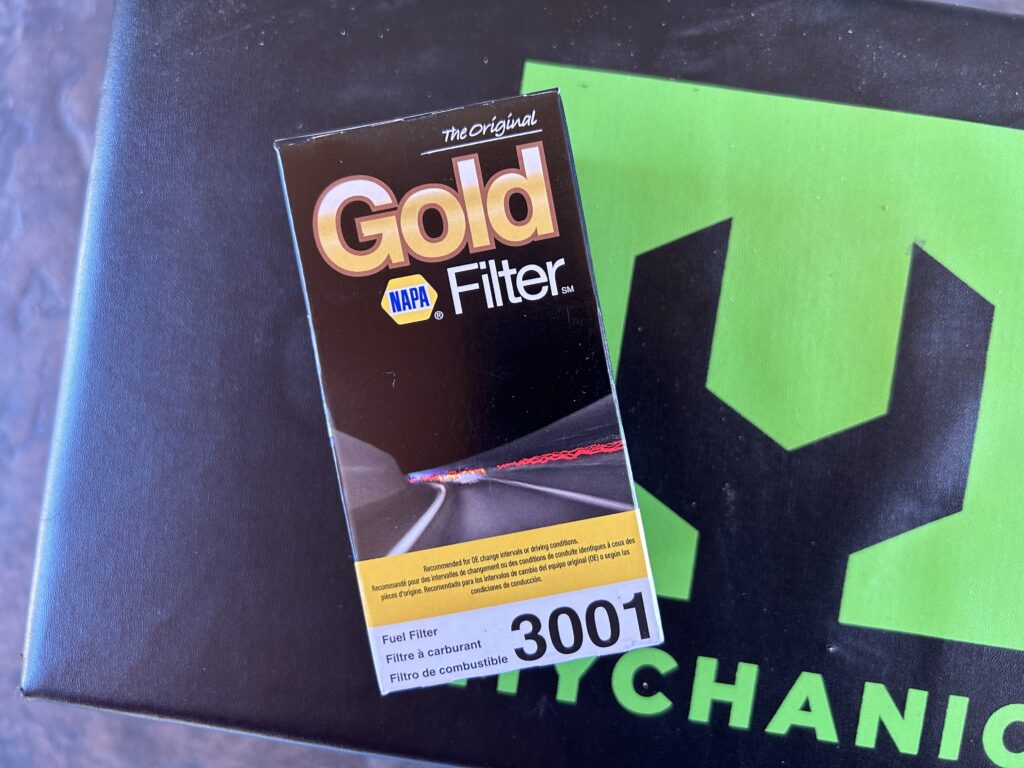
It came with fittings for 5/16 fuel hose and a small filter. My VW Beetle uses 5.5mm fuel line, I swapped in 1/4 NPT fittings from the hardware store (these caused problems, I swapped to 90° elbows and it solved that problem) and a NAPA 3001 filter to put in before the pump. My plan was to use a 3031 metal filter, but it’ll have to wait as I couldn’t get a 1.75” p-clamp locally.
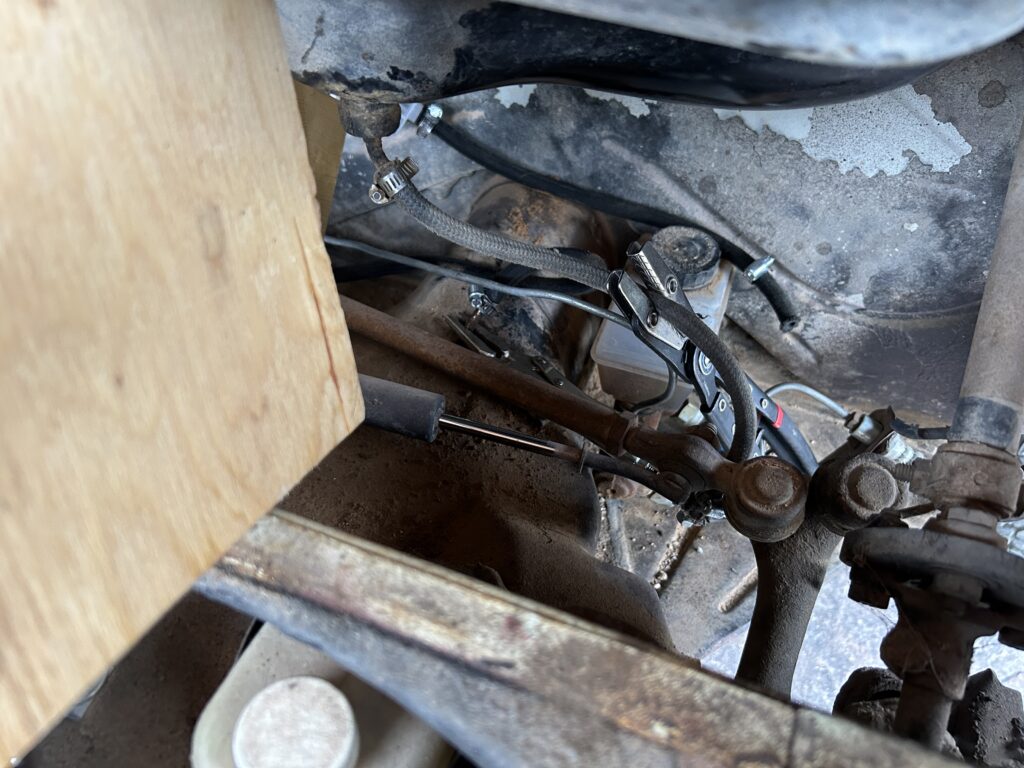
The internet says use jack stands and remove the wheels to get access to the fuel line where it comes out of the tank. However I say start with ramps, you’ll have all sorts of room to work when mounting the fuel pump. I did remove the wheel and use jack stands later, this didn’t work. I’ll explain later. First I hooked up the hoses to test fit the pump and mark the holes for drilling.
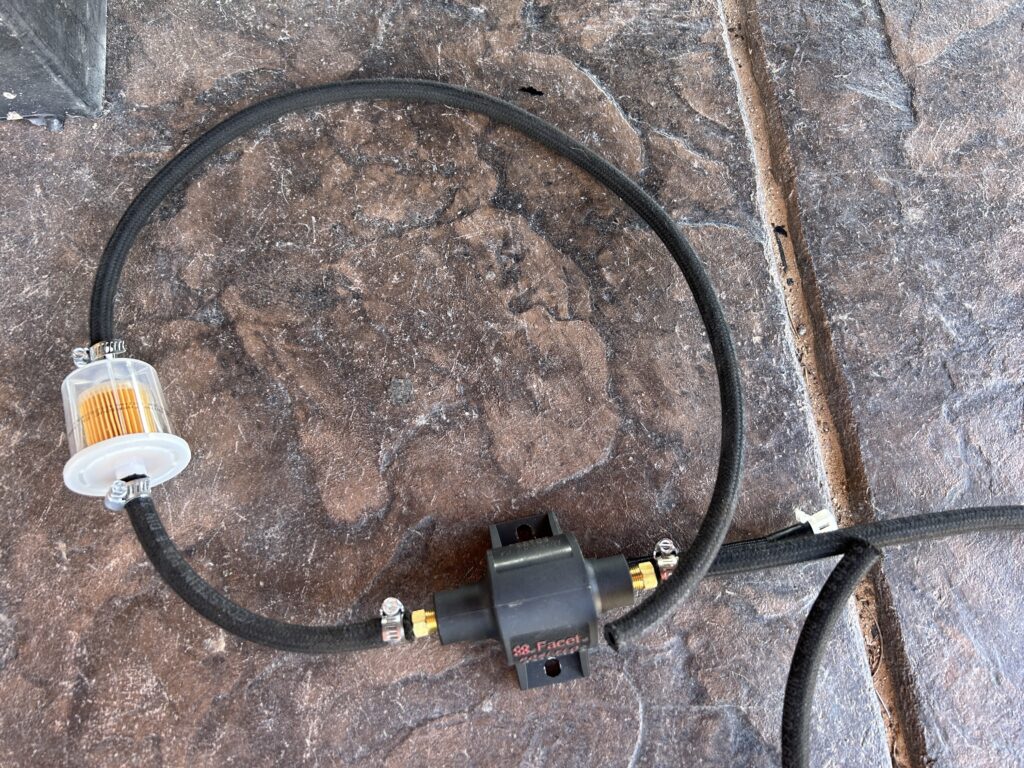
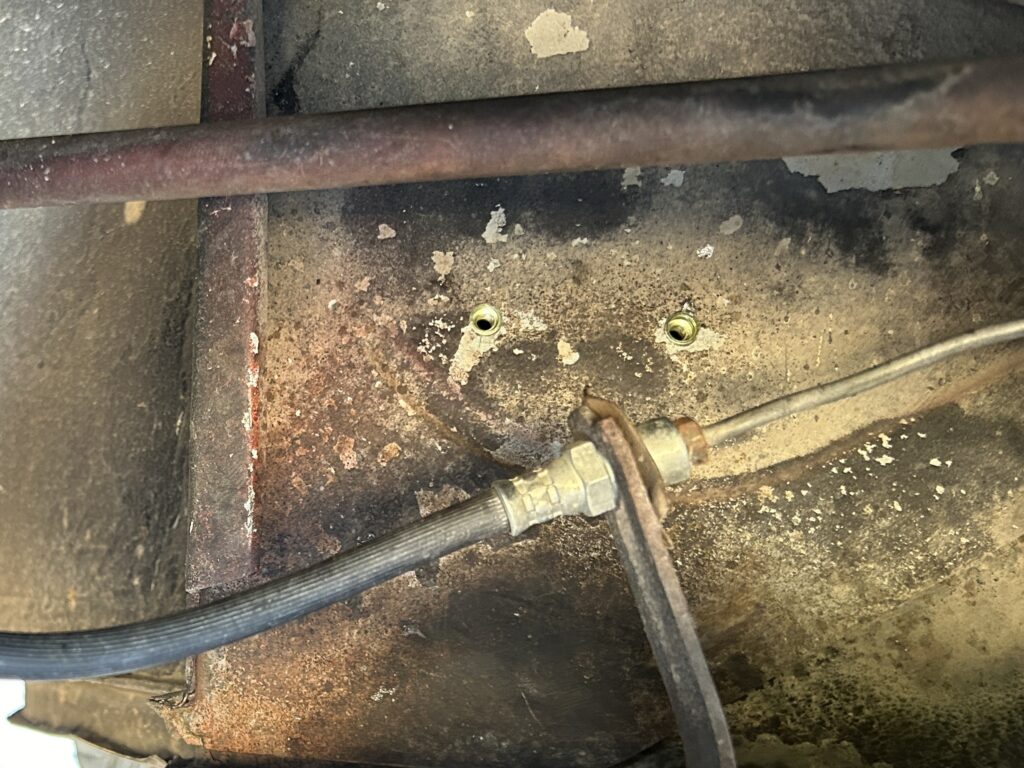
I marked the outlet side of the hose so I wouldn’t mix the ends up. I mounted the pump and cut the hoses to length. You want everything prepped before disconnecting the existing fuel hose. <—- pro tip.
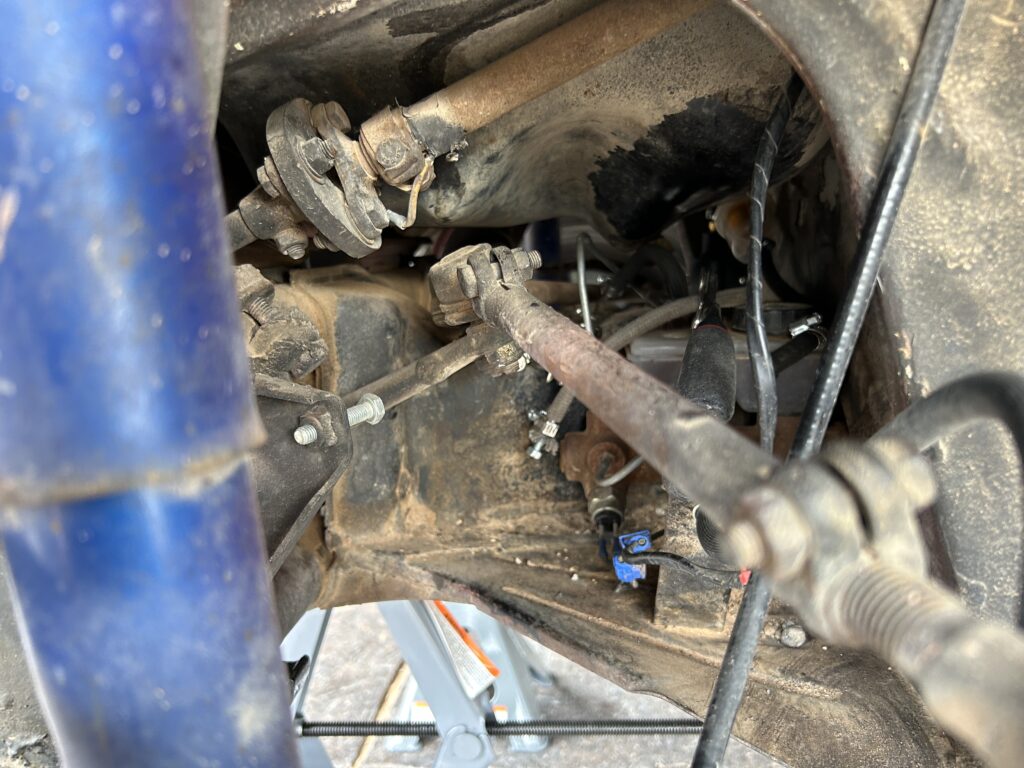
Now here I put the beetle on jack stands and removed the driver wheel. Getting the fuel line off where it goes in the tunnel was easy-ish. I plugged the hose with a 6mm bolt , which worked great! I then struggled for way too long to put the new hose on. It is tight and you can’t see what you are doing.
After a dinner and dog break I removed the tank and it was a 15 minute job. I should have done that sooner.

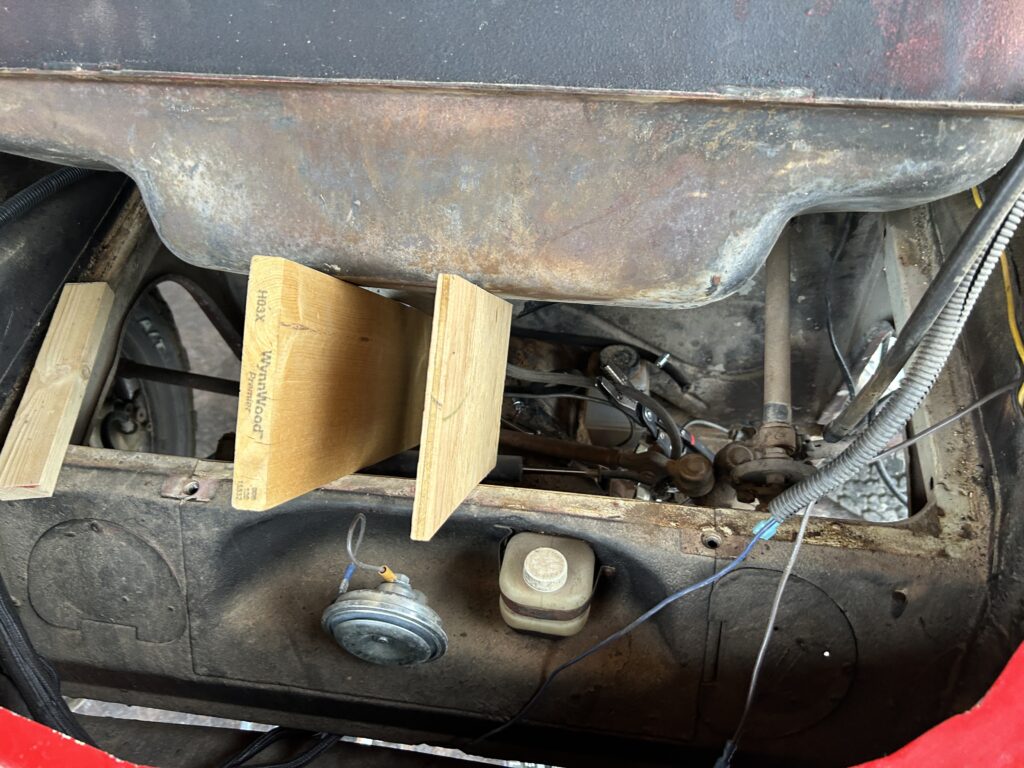
Seriously, this made things so easy. Oh the needle nose vise grips keep the metal tunnel line in place so you can push the new line on.
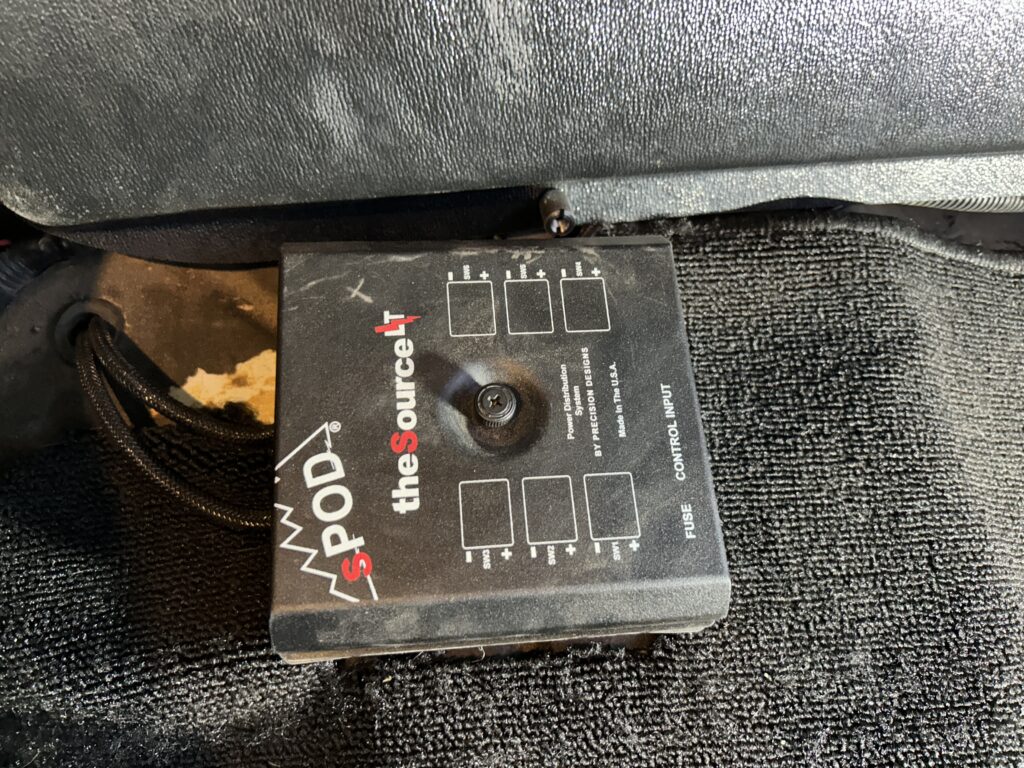
Then I ran the wires to the S-pod.

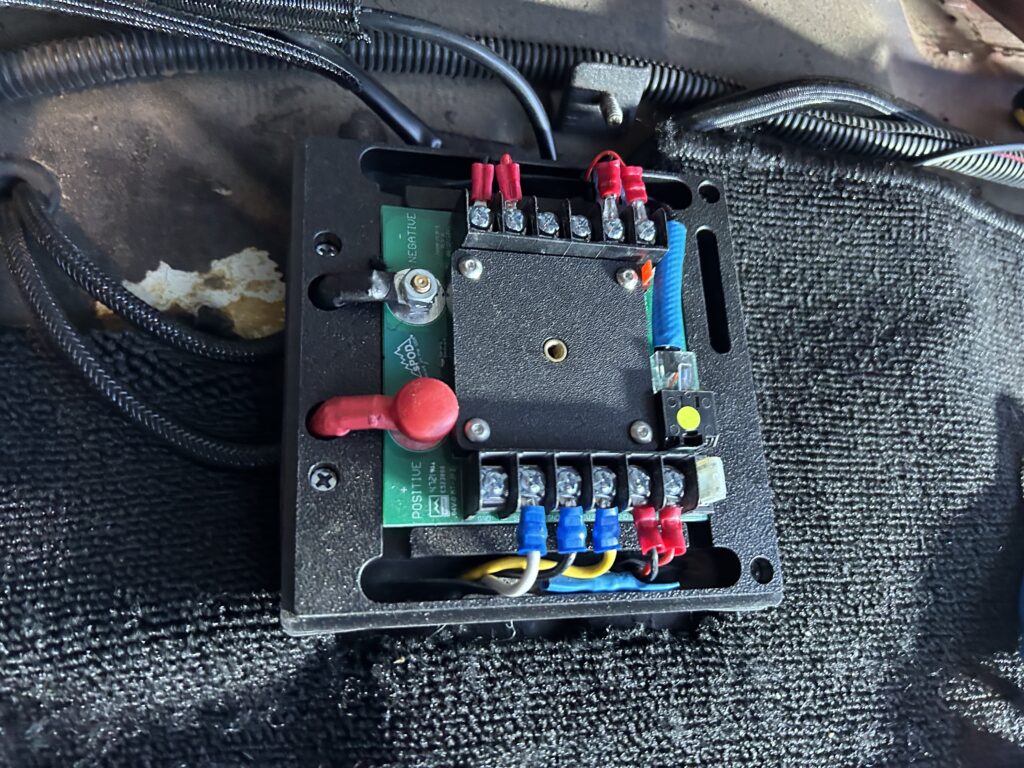
The S-Pod is some of the best money I spent on this Baja. It makes wiring so easy!
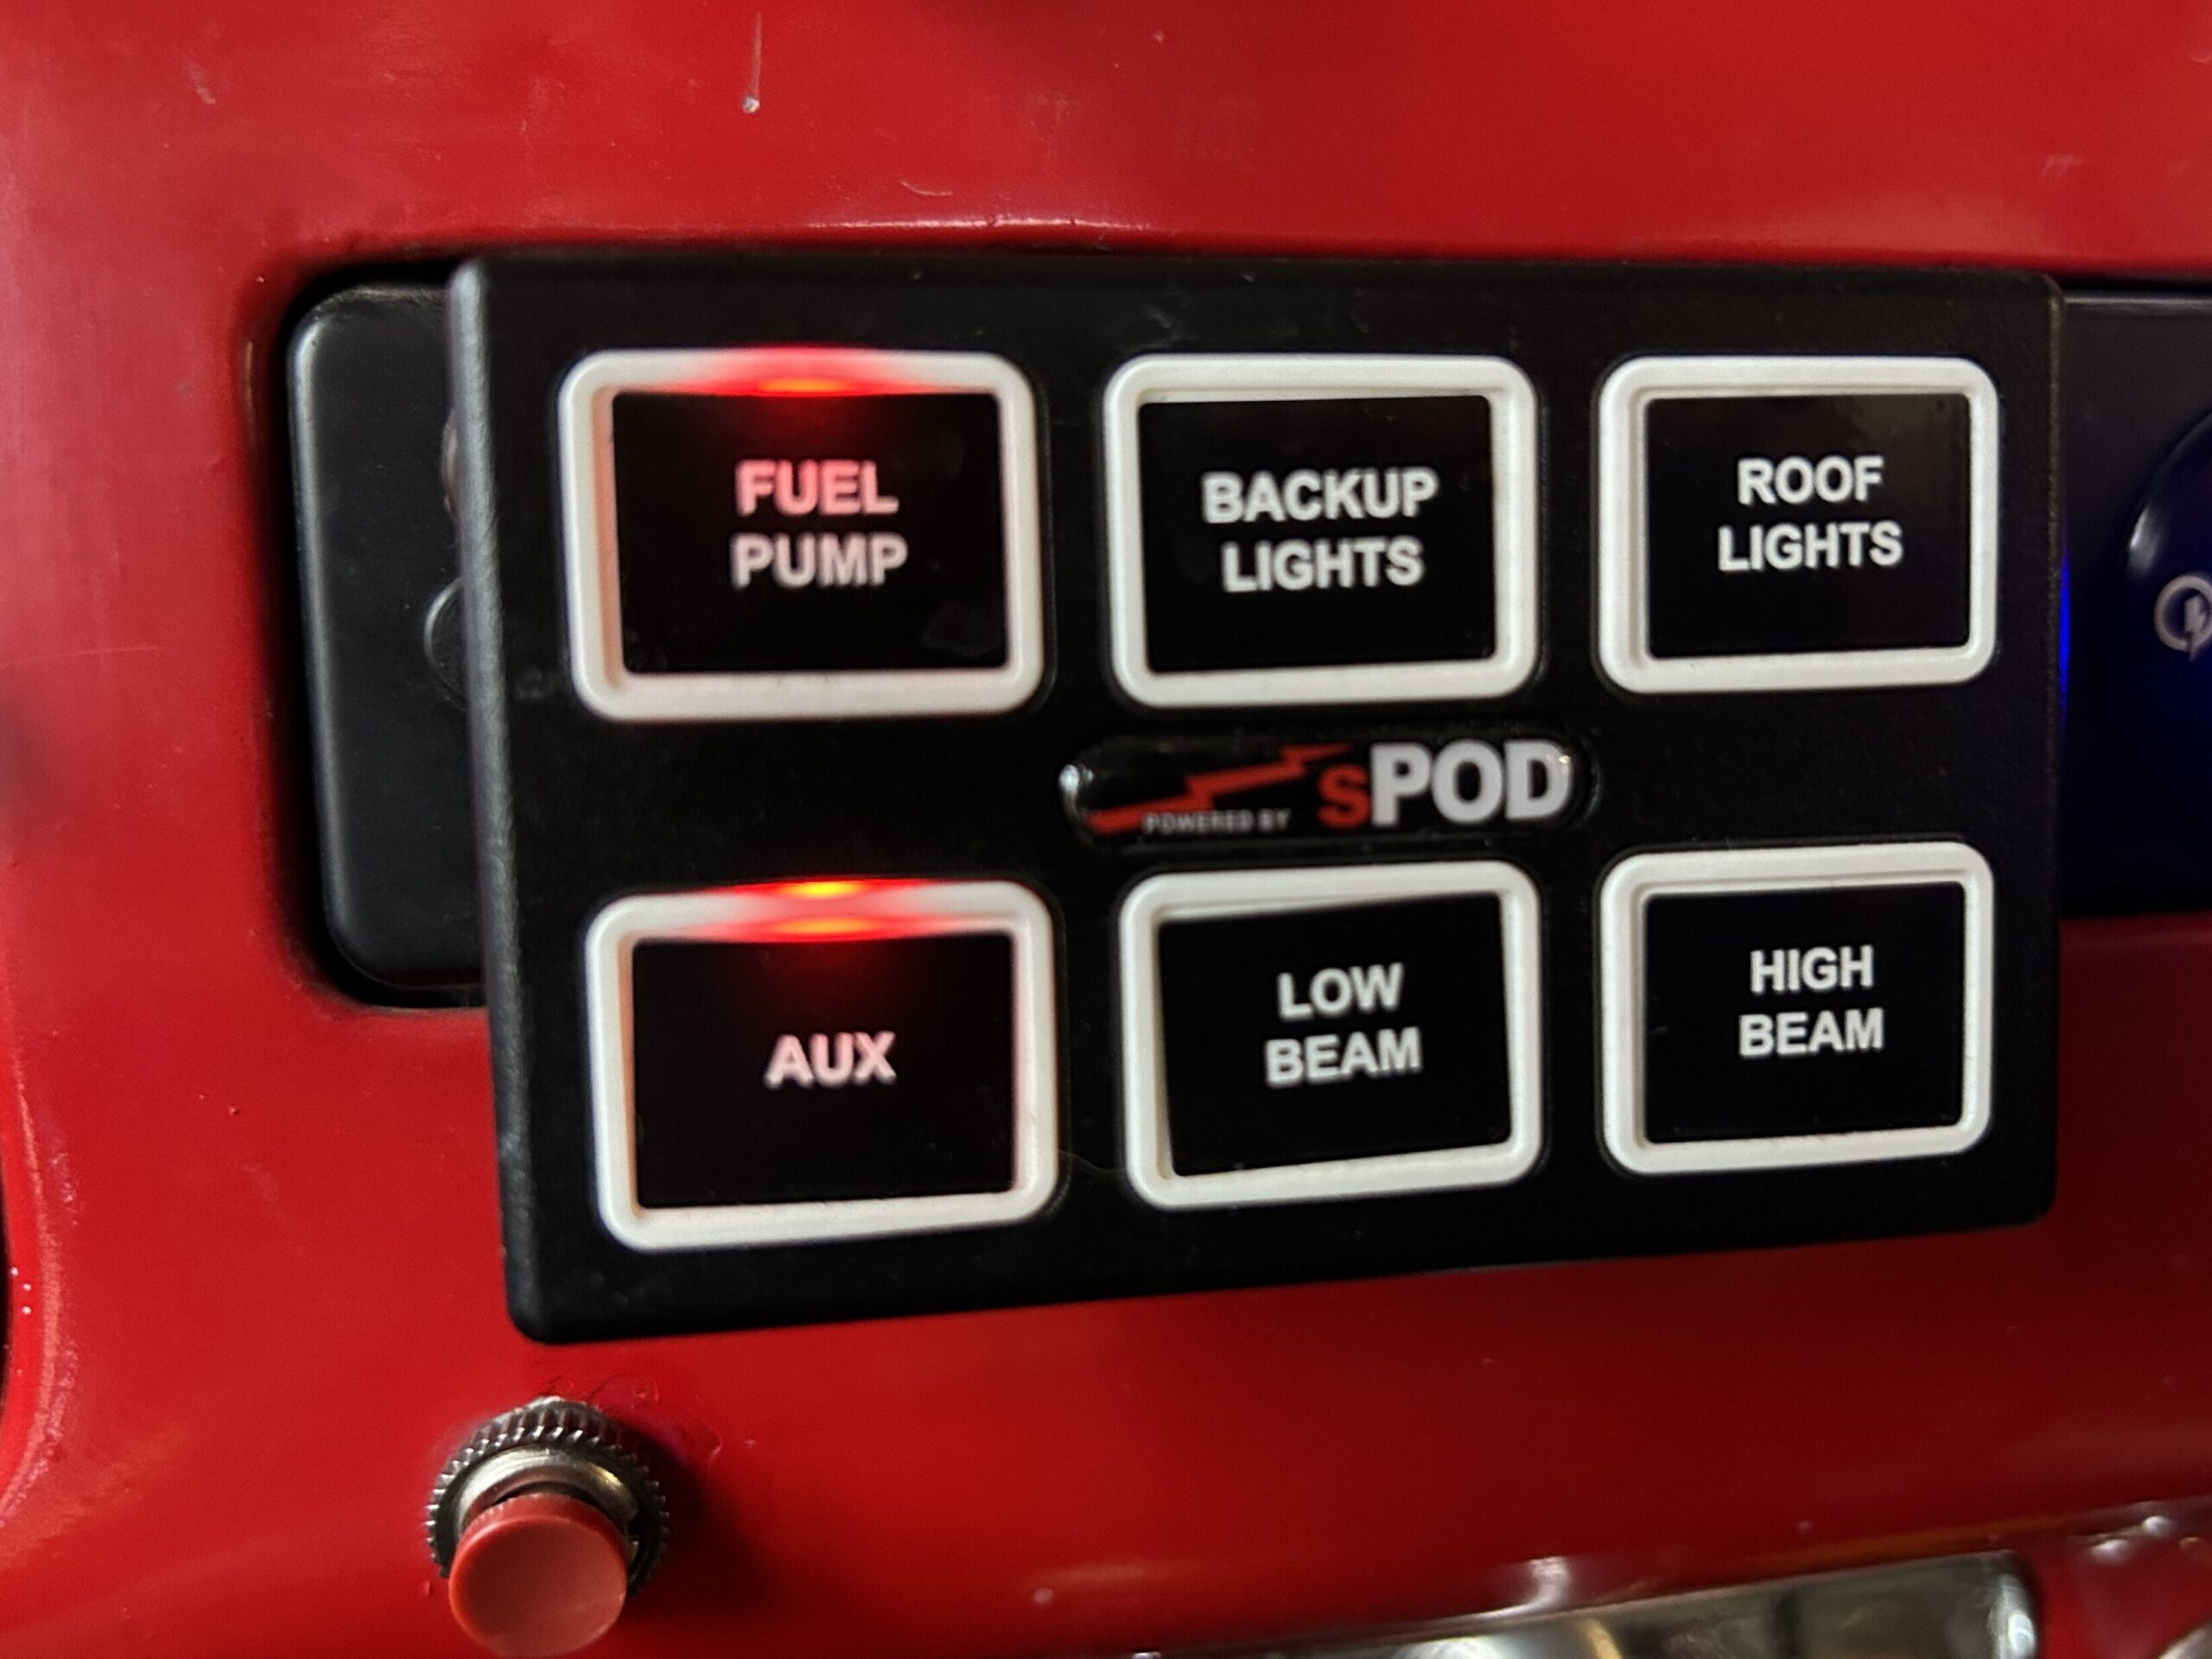
Now I have the option to use the electric pump to fill the bowl when I have not driven it for a while or during vapor lock.
The first test was a success ! More testing to come. While I was getting dirty and smelling like gas I replaced the fuel filter in the rear above the wheel. I’ll probably buy a longer length of fuel line and remove it since there is one by the tank.
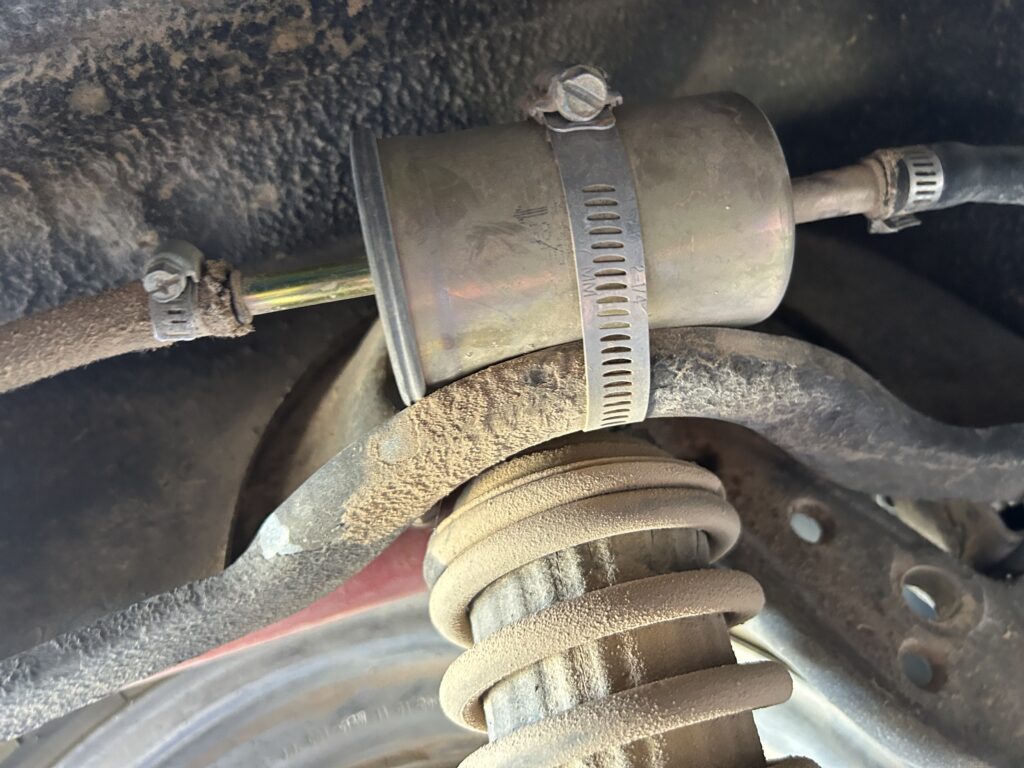
Old gigantic filter:
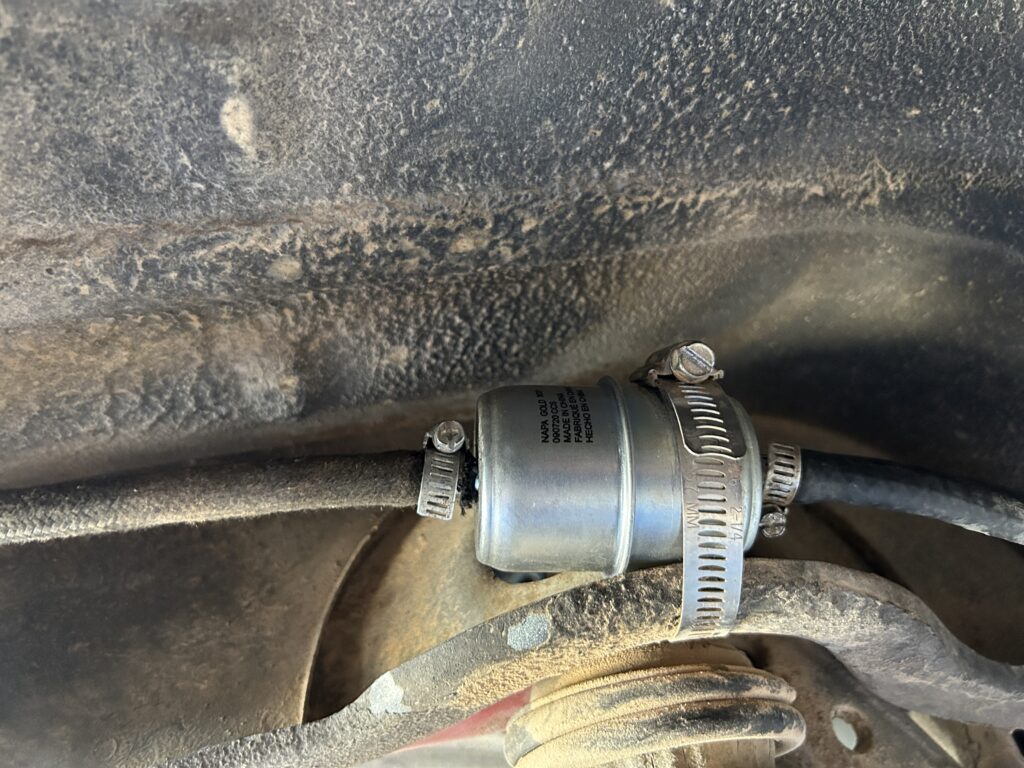
New NAPA 3031 in place:
Looking forward to a bit more testing.
Parts:
- Fuel Line https://belmetric.com/eckstein-braided-multi-fuel-rubber-hose/?sku=RHM5.5BRAIDECK
- Facet Pump https://www.napaonline.com/en/p/BK_6101051
- NAPA Clear Filter 3001 https://www.napaonline.com/en/p/FIL3001
- NAPA Gold all metal filter 3031 https://www.napaonline.com/en/p/FIL3031
- Hose clamps
Handy Tools:
- 13mm socket
- 1/4” socket / 1/4 nut driver
- Hose pinch off pliers
- Lisle hose removal pliers
- 6mm bolt to jam in the fuel line.
- Nutzert tool
- Stepped drill bit
Have you checked the fuel pump screen for debris?
Hey Bryan – Yes, great call out. I removed the electric pump I put in and have now gone 50 miles with no issues. It seems it was all my fault m
-Joe