Part 2 of the wiring the roof top lights is here! If you missed part 1, I made the junction box for the roof light wiring distribution. With that out of the way it was time to:
- Wire the lights to the plugs
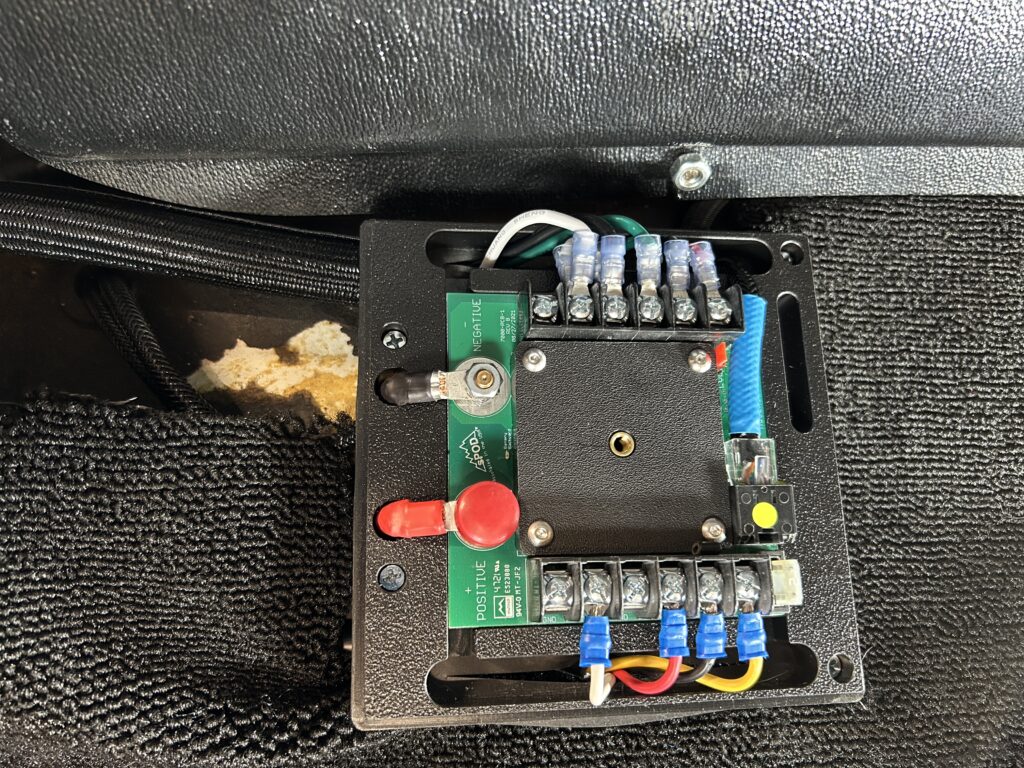
- Wire the plug from the s-pod to the junction box
- Wire the box to the s-pod
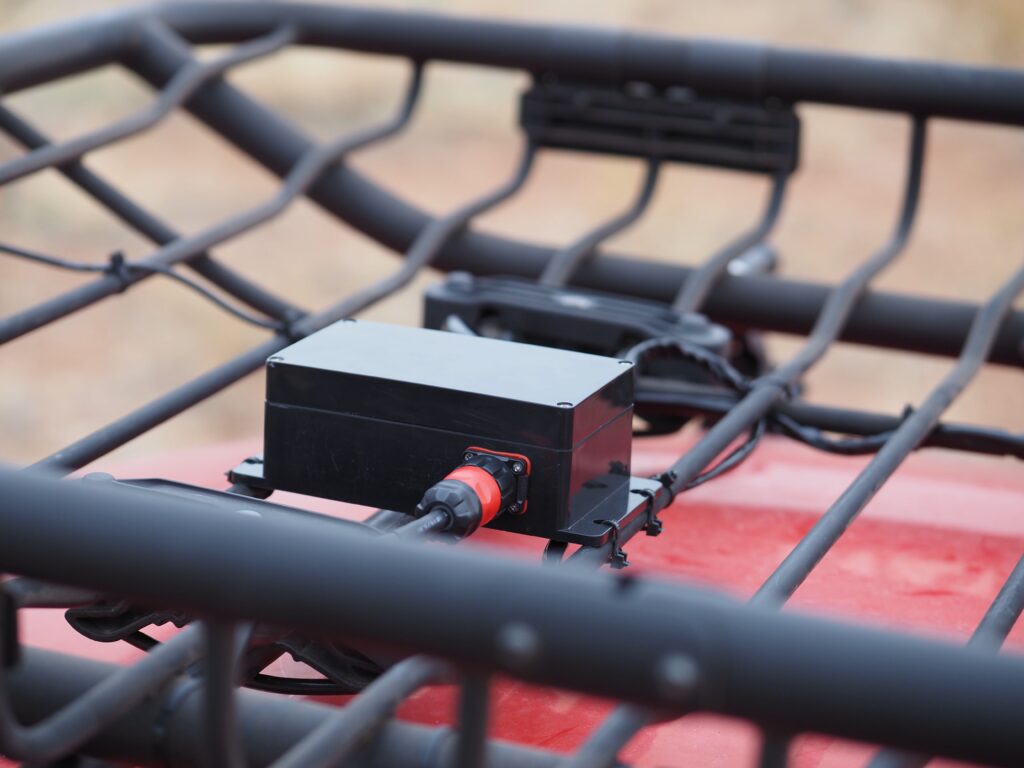
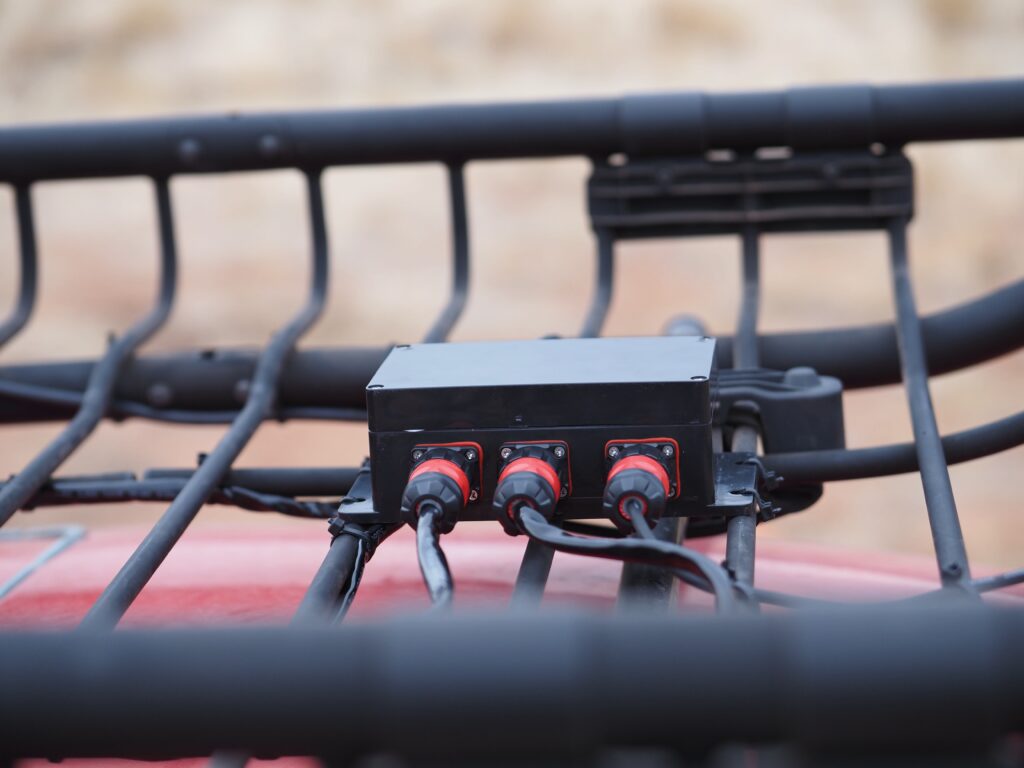
First up was hooking up the CNLINKO plugs which attach to the box on the roof. I placed the box on the rack where I wanted it and then lay out the wires to snip the cables. Back to the bench for soldering.

After the first light was wired I hooked it up to my bench top power supply to make sure everything was working right.
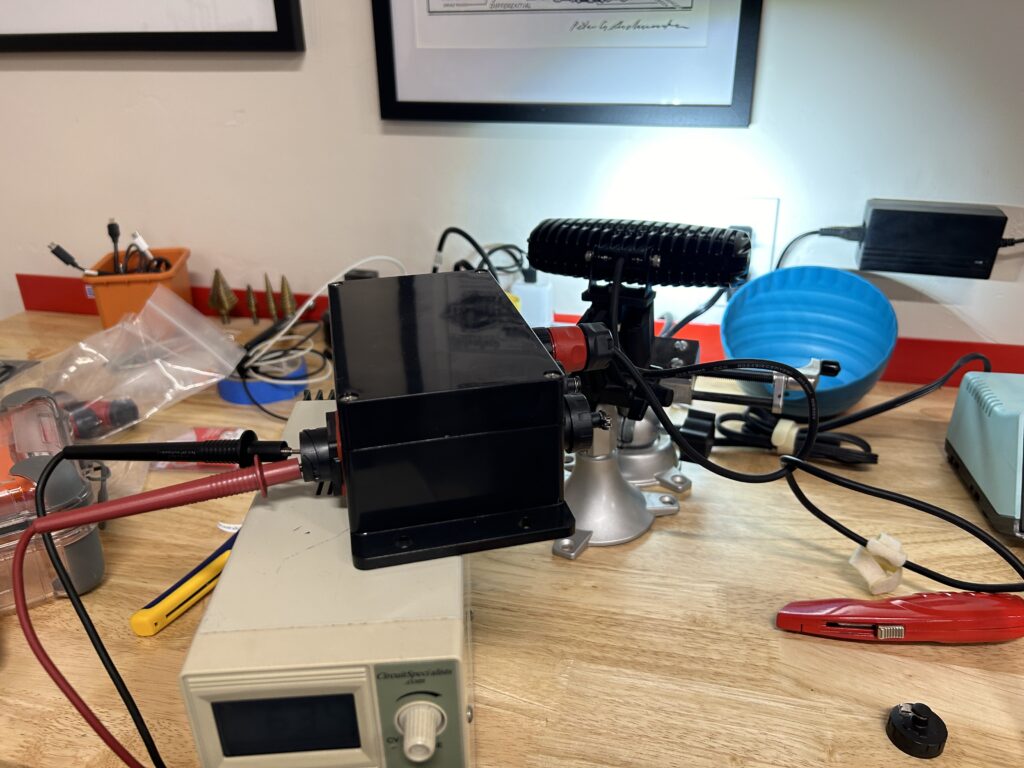
I did this for every light just to make sure before I secured the junction/distribution box to the rack. Just to be sure. And surprise, everything worked right! Originally I used these cheap alloy clamps from Amazon, but the bolt that came with the Hella lights was too big and I had to drill the clamp out. Plus the clamp was skinnier than the base of the light making for a sketchy connection. So I replaced them with KC light mounts.
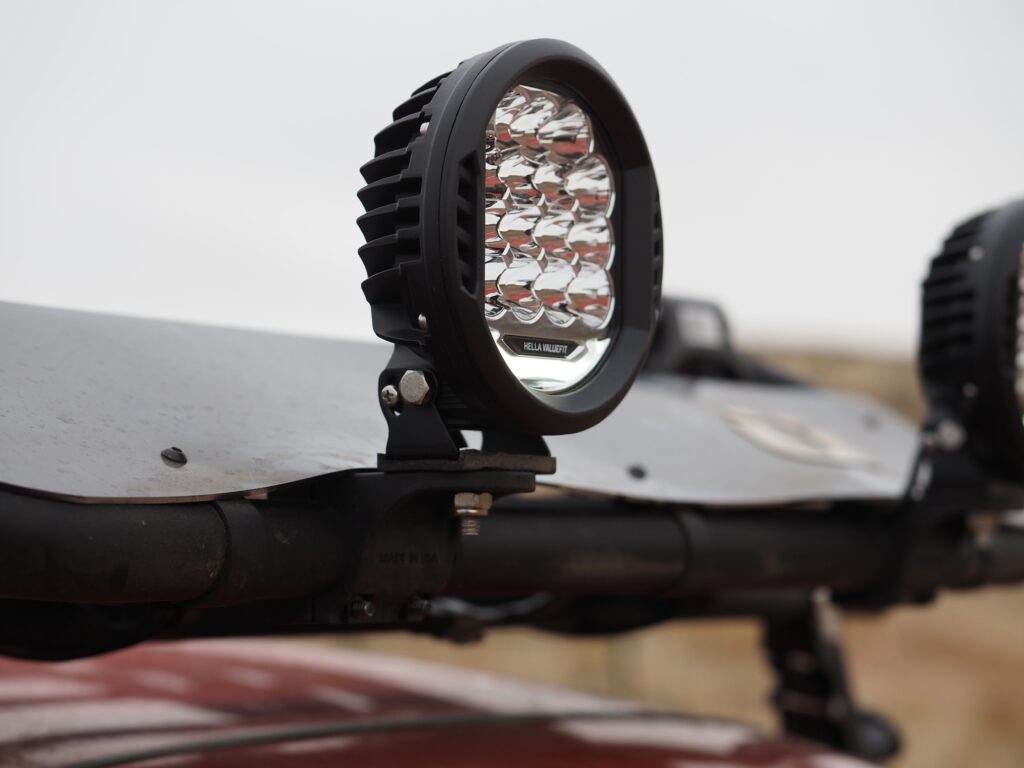
The reverse light was mounted using one of the aforementioned cheap mounts, I thought this was ok because it is so much lighter and the included Hella bolt fit in.
With the lights mounted, the plugs soldered it was time to zip tie everything into place.

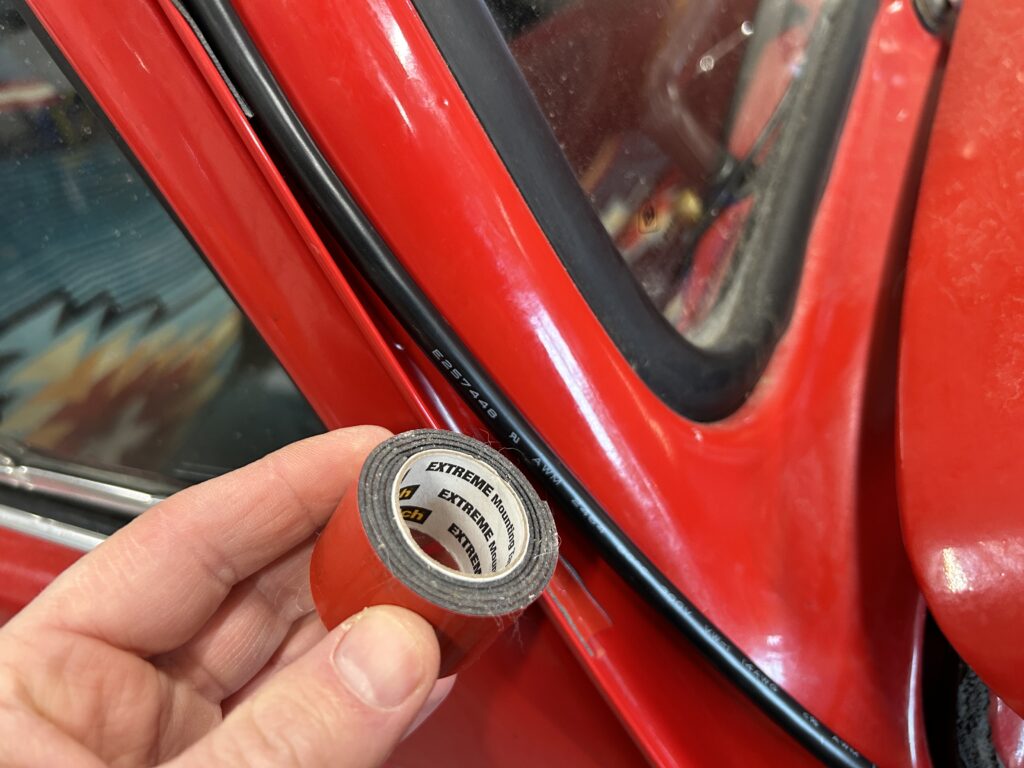
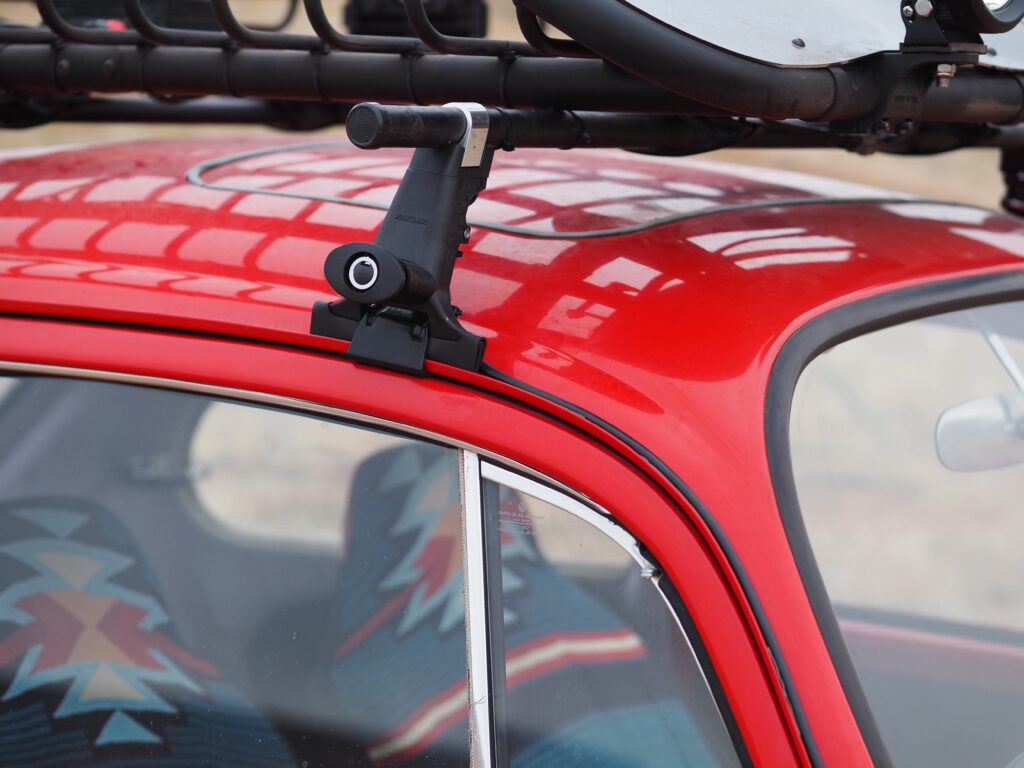
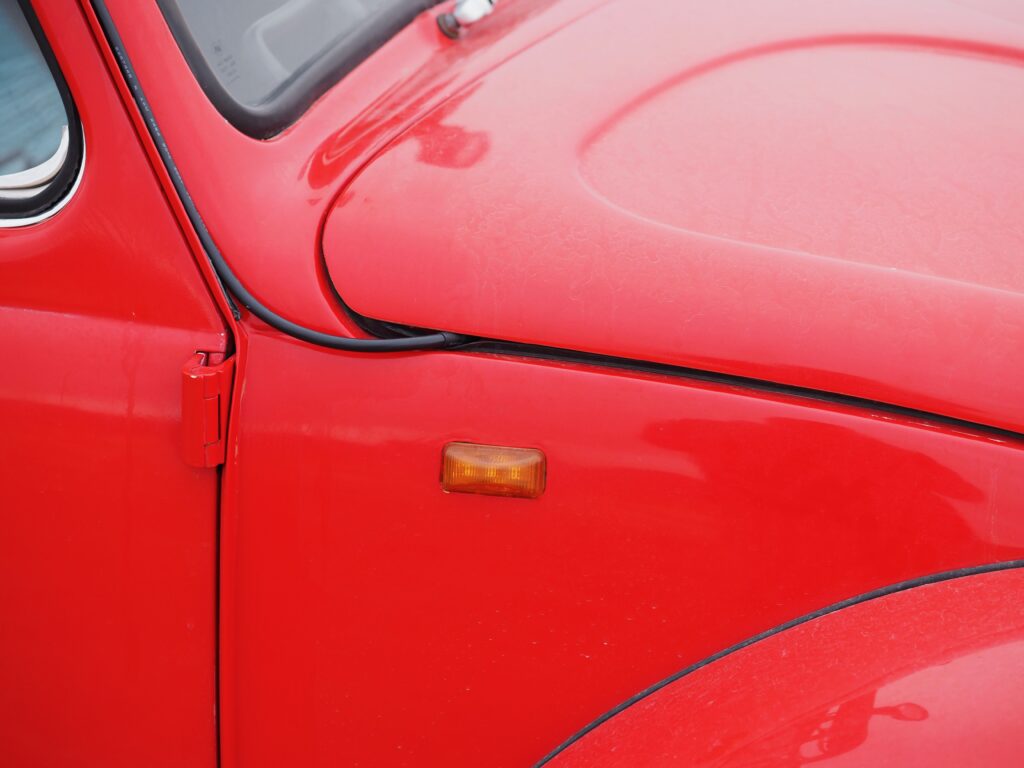
Initially I had planned on running the wire from the s-pod in the front back to the rear of the car and up the rain gutter. But it just seemed to make so much more sense to go up the passenger rain gutter from the front. I was going to use the KC Hide a wire kit, but it was missing the 3M tape. But the 8MM 4 conductor wire from Amazon just fit perfectly in the gutter, so I used Scotch Extreme Mounting Tape.
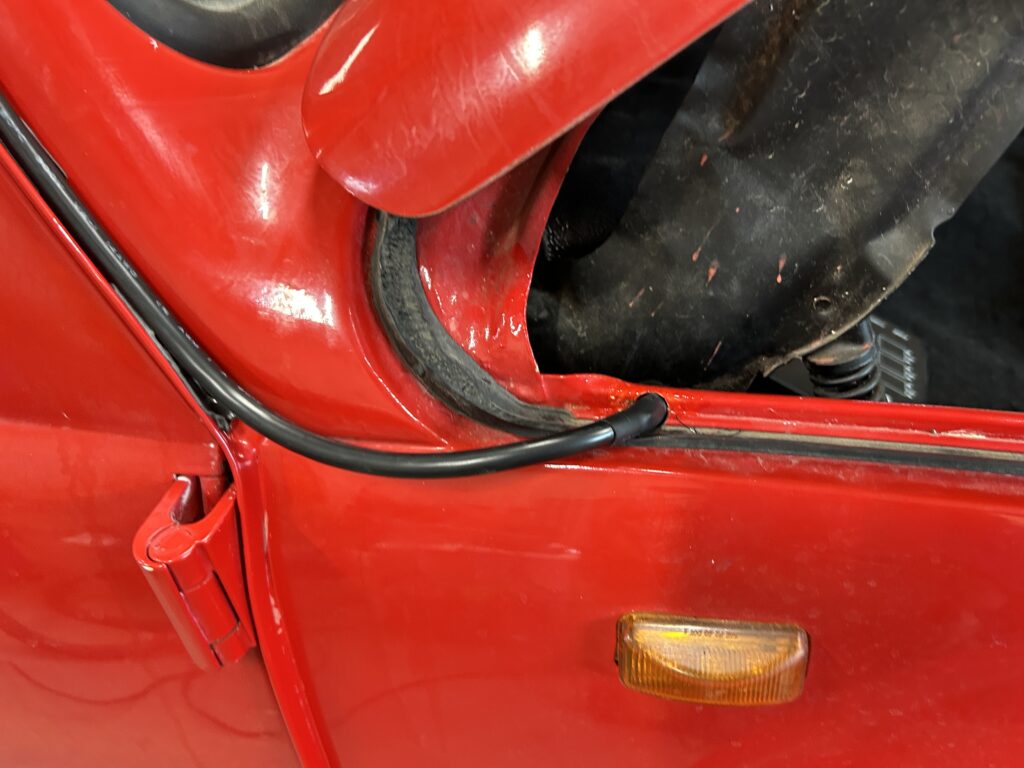
Then I put a small hole under the hood to run the cable through. I put woven cable cover and shrink wrap over the area it goes through the hole to prevent it cutting the wire. The metal was too thick for all of my wire grommets.
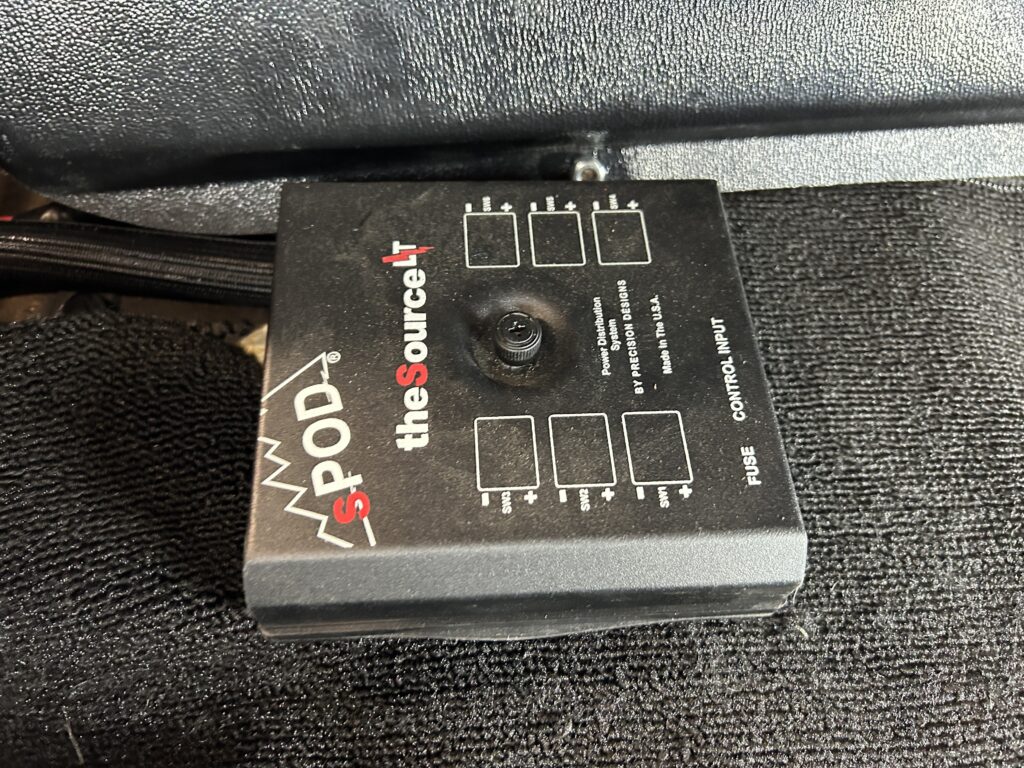
Once under the hood I ran the wires to the S-Pod, checking my wiring notes before I crimped the connectors.
Now a smarter man than me would have cut the wire and soldered on the plug to the roof top box before doing all of this, I did not. So I brought the soldering iron over to the roof top basket and soldered it up on top. No harm, no foul I guess 🙂
Now that everything was complete, it was time for the moment of truth, applying power. Everything worked. I think is is pretty unnoticeable on the rack. I can still put a bike on without any issue either.
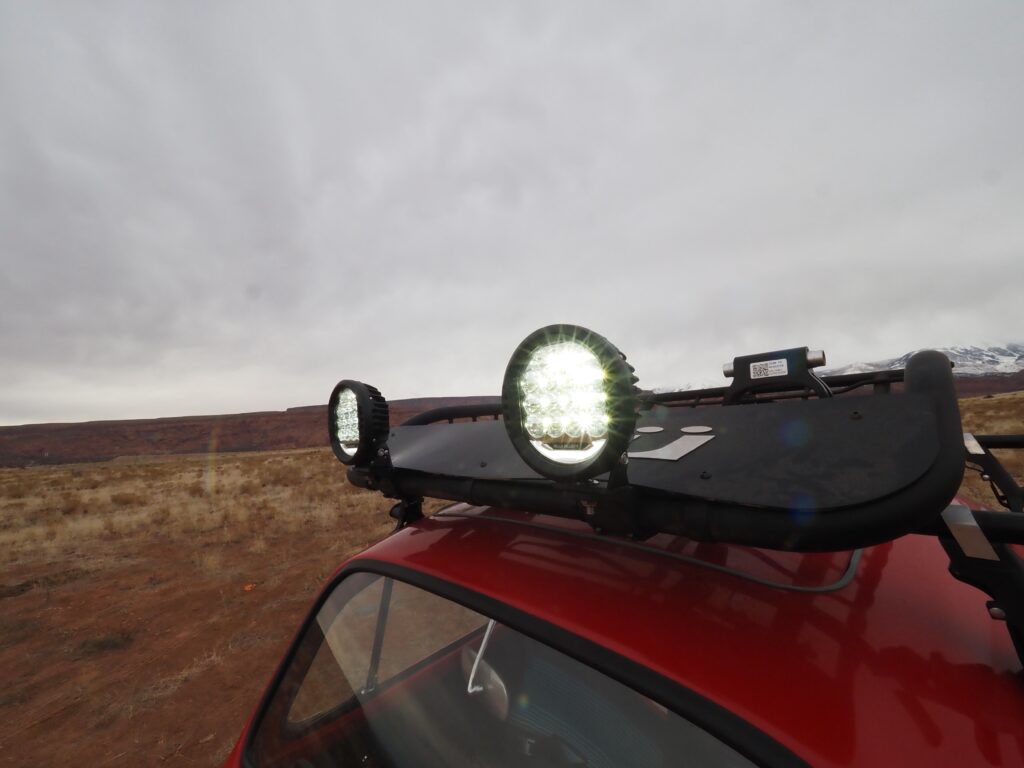
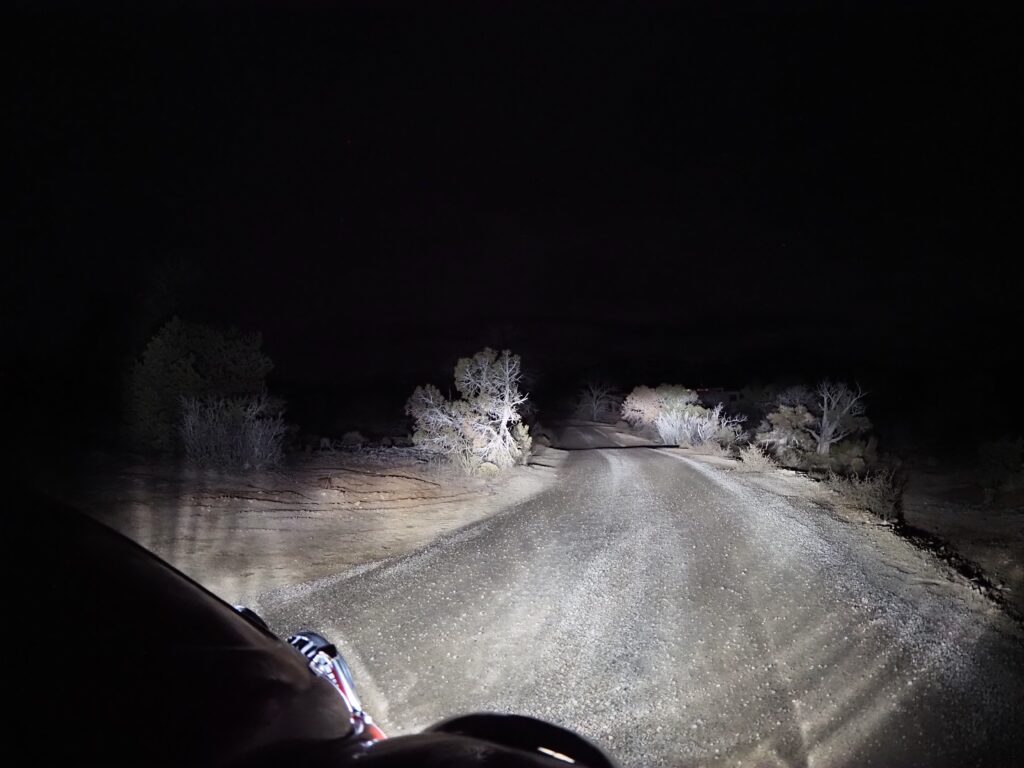
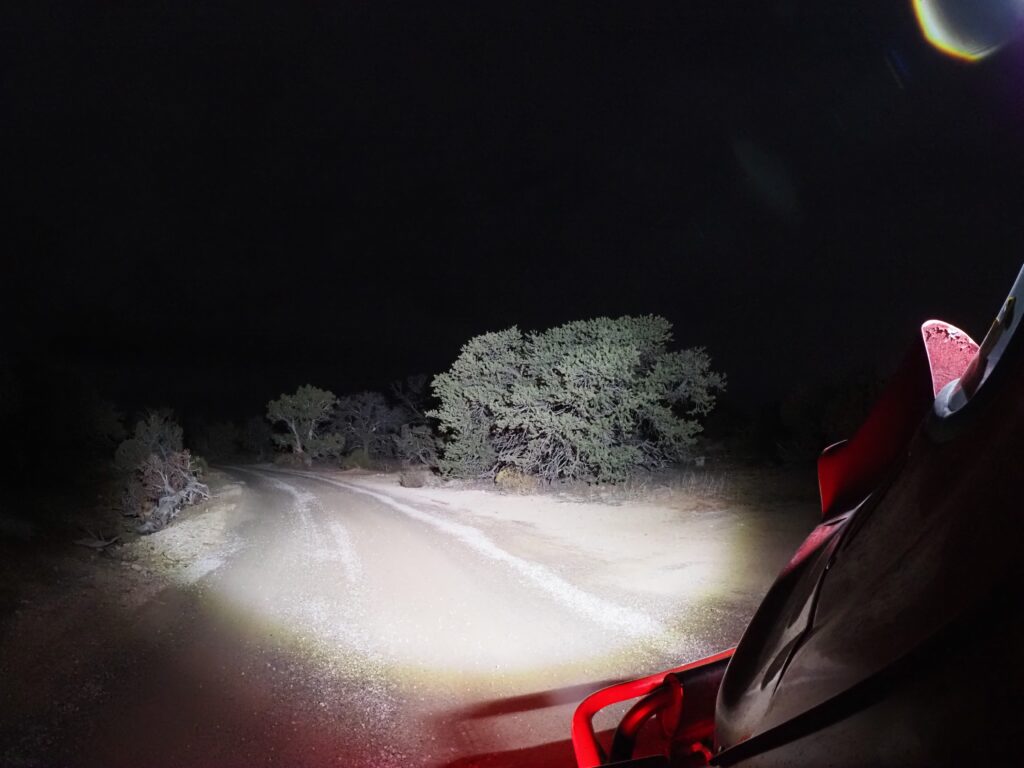
And the brightness is AMAZING! I use the low ones in front every time I drive at night. I’ll not use the top ones much, but it is mind blowingly bright. I am super stoked on this setup.


I do use the “low beam” on the lights every time I drive, they are really like daytime running lights. So that is cool. You can see it is the lower LED bar in the picture below.

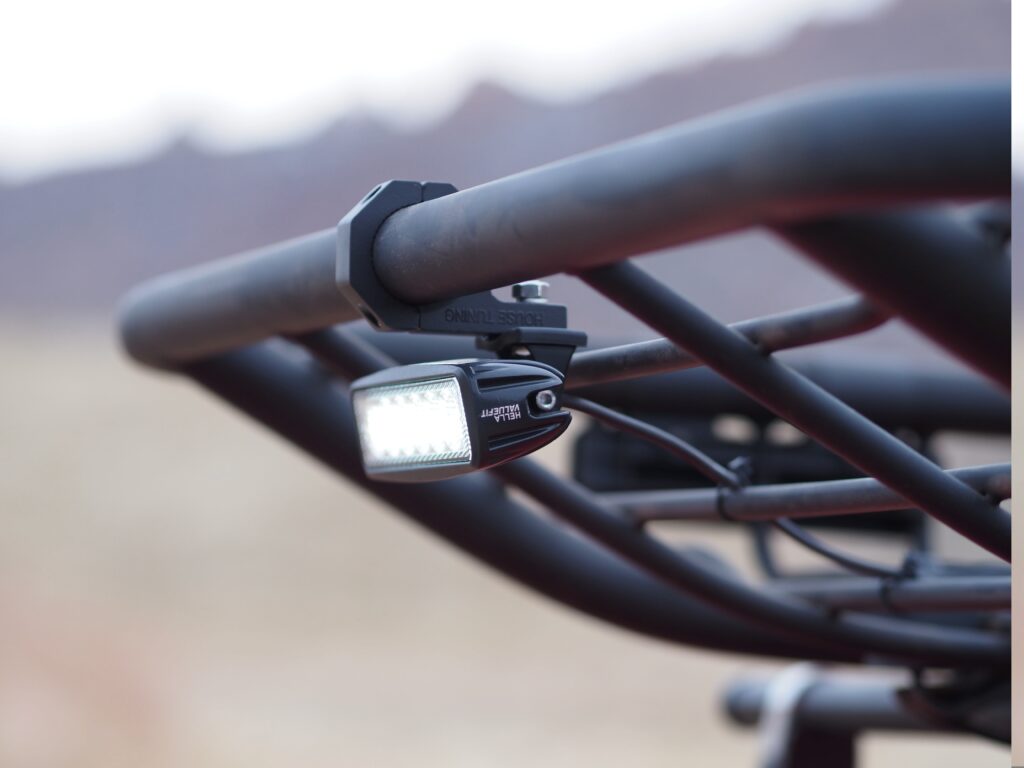
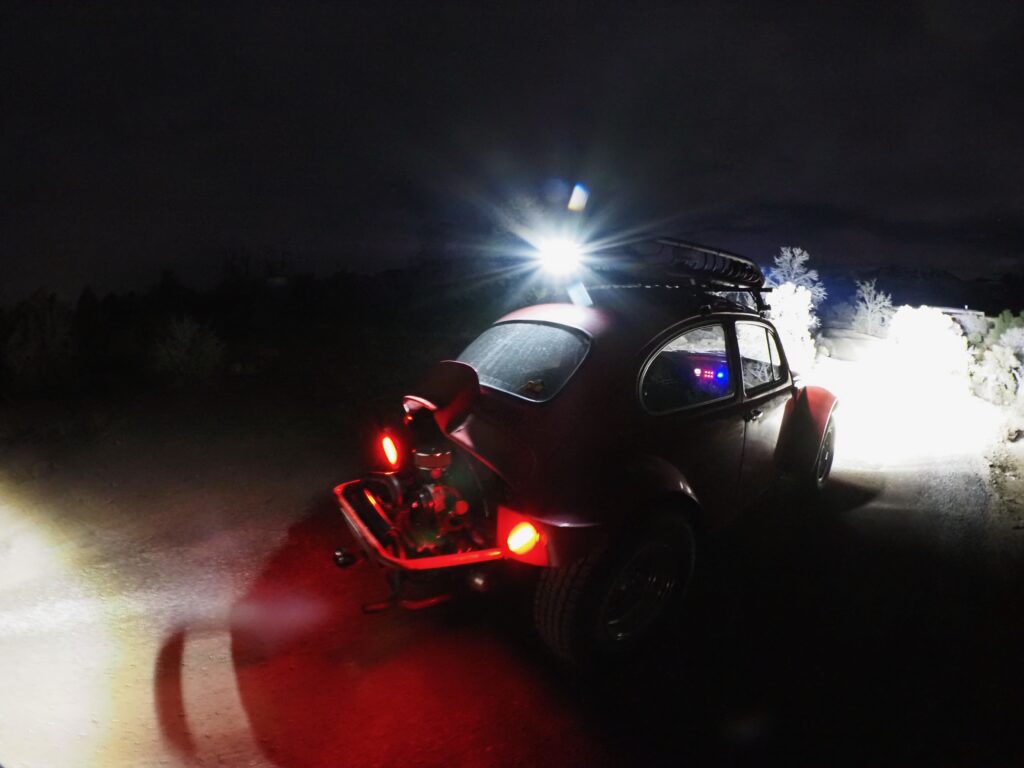
My 66 did not have a reverse light, I don’t believe any did. So this is a welcome addition.

How well does all of this work? It literally lights up the night. The front lights are bright to a degree I have never experienced.

The reverse light, well that is beyond my expectations. I did change the angle since the day time pictures. It points straight back now, as opposed to slightly down.
Parts actually used :
- Zulkit Junction box https://www.amazon.com/dp/B081M21FN1
- 6 Pole terminal block
- Shrink wrap
- Wire and crimp ends
- Skotch Extreme Mounting Tape
- CNLINK0 2 pin connector, 2 x 3 pin , 4 pin connector https://www.amazon.com/dp/B0825HYND8?
- 14G 4 wire cable https://www.amazon.com/gp/product/B0C69G8PR5
- Hella ValueFit LED lights https://www.amazon.com/gp/product/B016VAMUIM
- Hella Valuefit LED light https://www.amazon.com/dp/B07JFM9J6M/