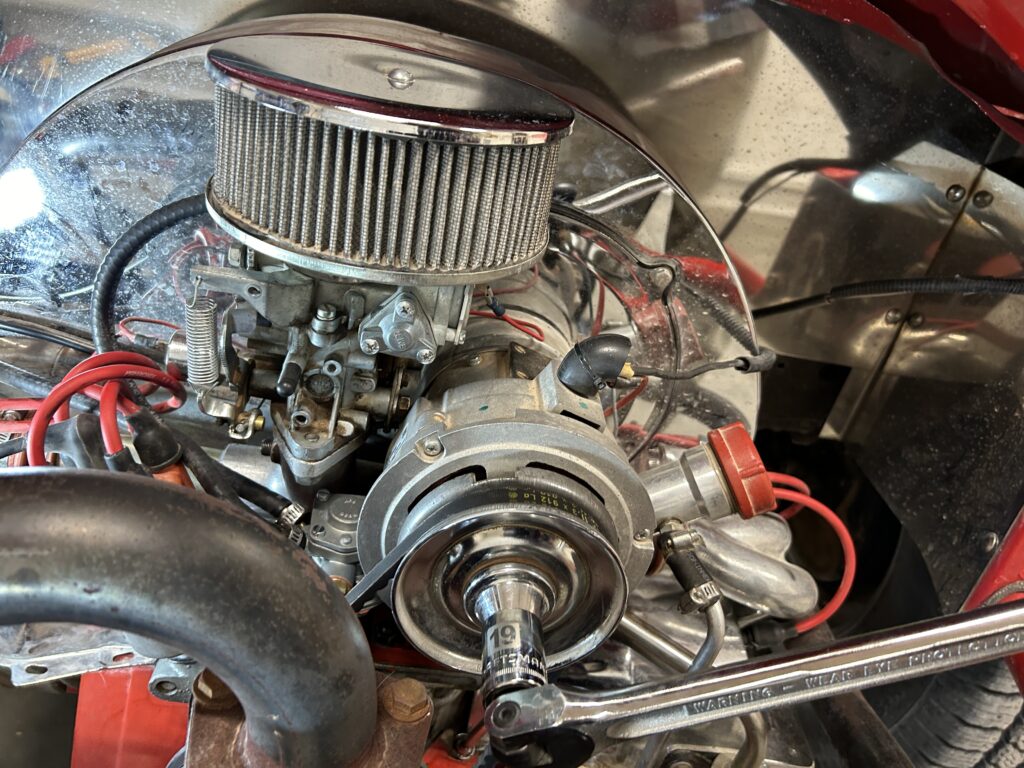
If you follow along, a few weeks back I noticed my motor was particularly dirty. After some cleaning and investigating I figured out my fuel pump was leaking. Like all new beetle mechanics I asked a question on The Samba, the VW hive mind agreed it was a bad pump. I picked up a rebuilt VW pump from Bill @ Sparx Werks. Bill was just awesome to work with. He gave me options and advice, a new pushrod and way more help than he had to. After reviewing every book I undertook my biggest solo automotive task to date. And no fires yet!
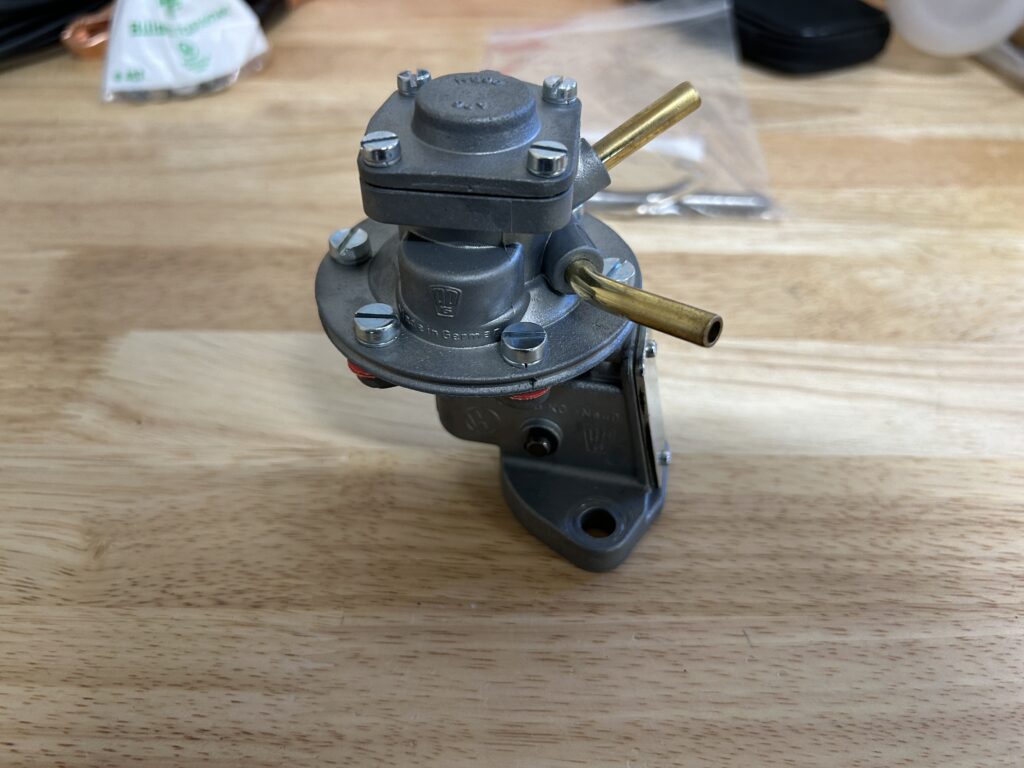

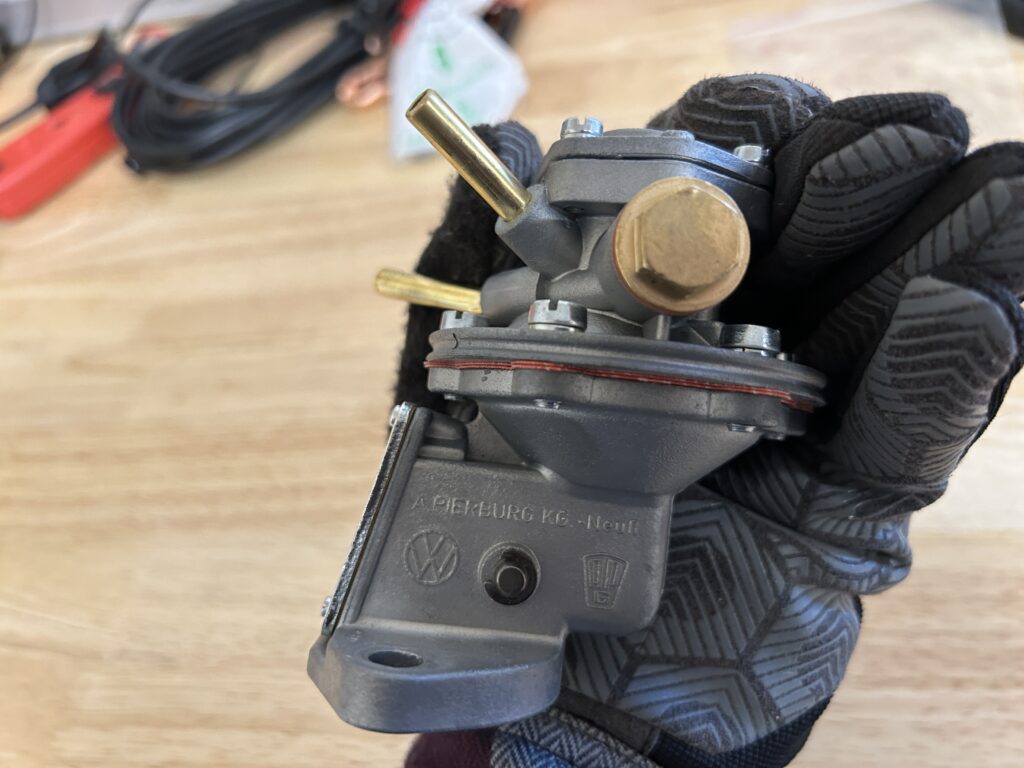
Can you even believe that is not a brand new part?
Step 1 for me was to disconnect the battery and turn the ignition to start one time to make sure the coil was discharged. Lots of gas and close to the spark is no bueno. I also had a extinguisher near by. I did mention this is the most I’ve done solo on an engine, right?
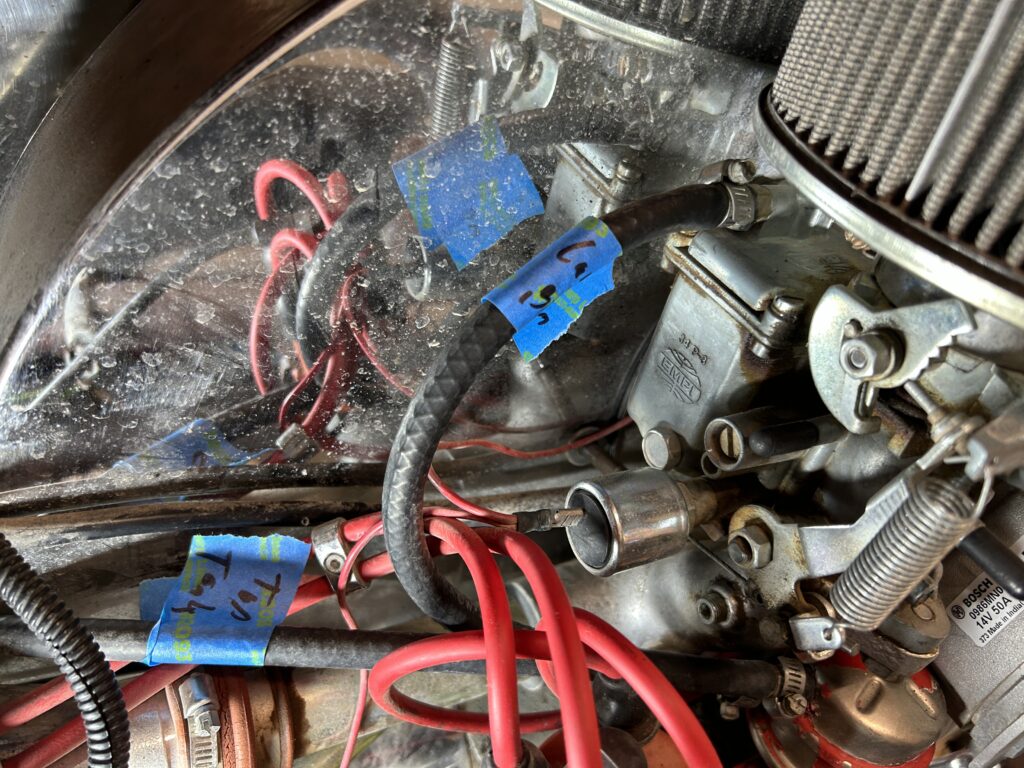
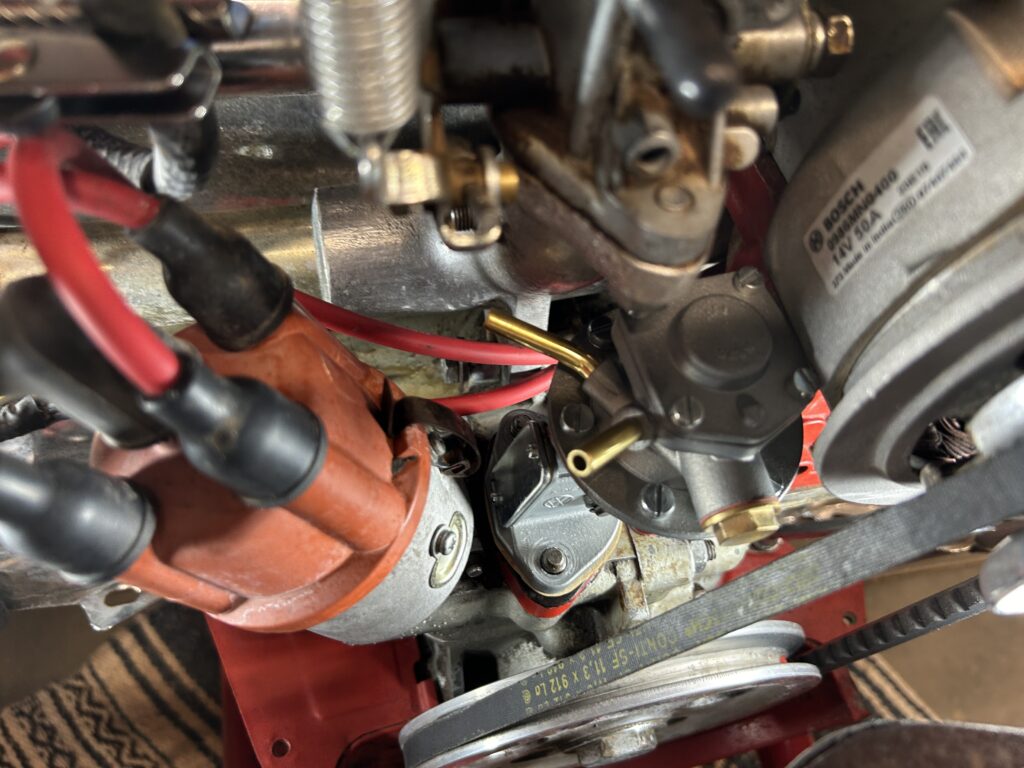
Then I labelled my input and output hoses and the orientation, this was not needed as Bill included which was hose went where in his email… I missed that, which will come back to haunt me below. Not really haunt me, I just had to switch them around, in the dark in my driveway 🙂
I use hose pinch off pliers (Gear Wrench Automatic Locking Ratcheting Hose Pinch Off Pliers), then disconnected the fuel lines.
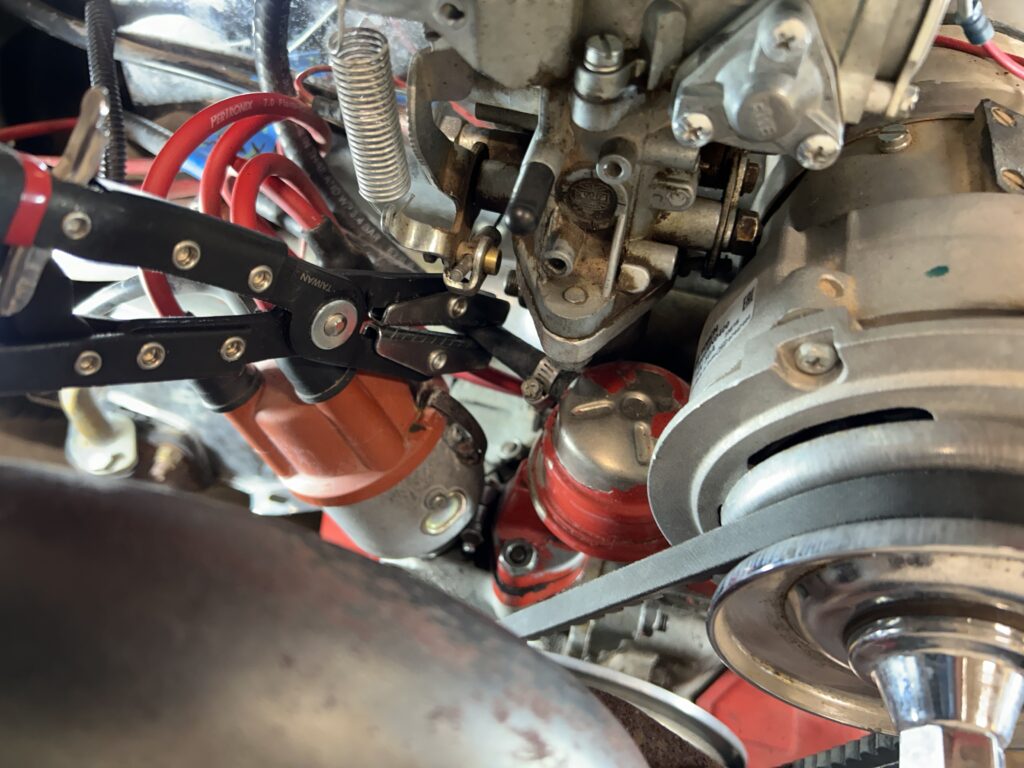
Then I used a 13mm socket and ratchet to remove the nuts on the fuel pump studs.

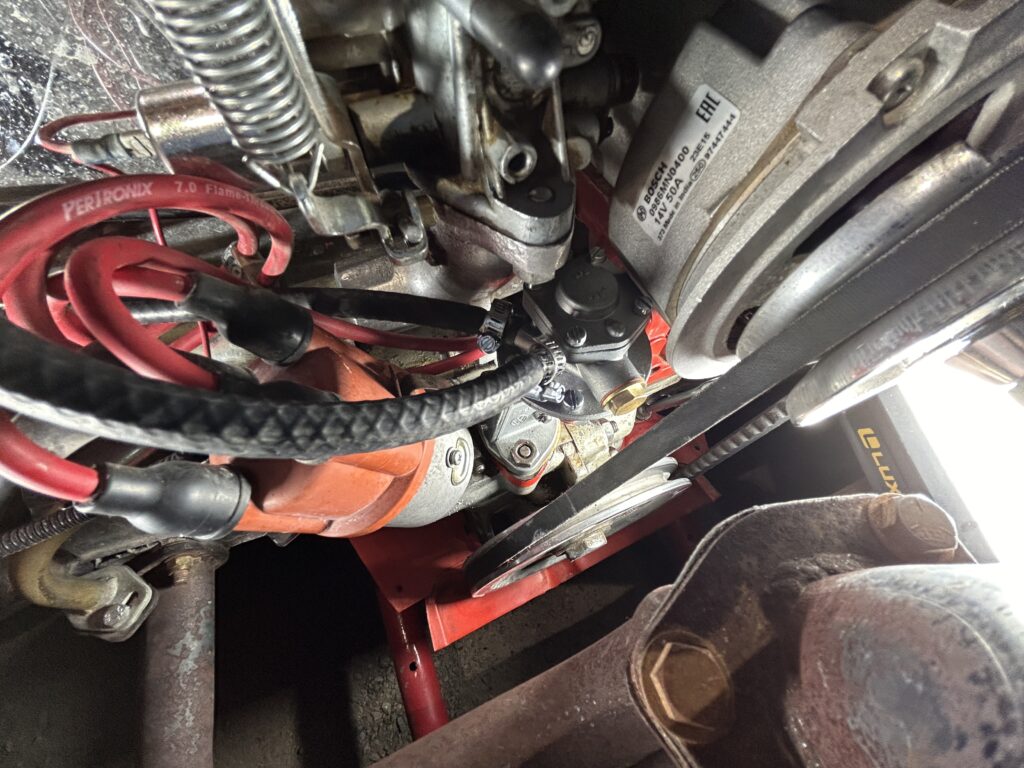
The rear one was tricky, lucky for me I already had bought a set of half moon wrenches from NAPA when I did the alternator swap. Once I had it loosened up I used a long extension on the ratchet to remove the nut the rest of the way.

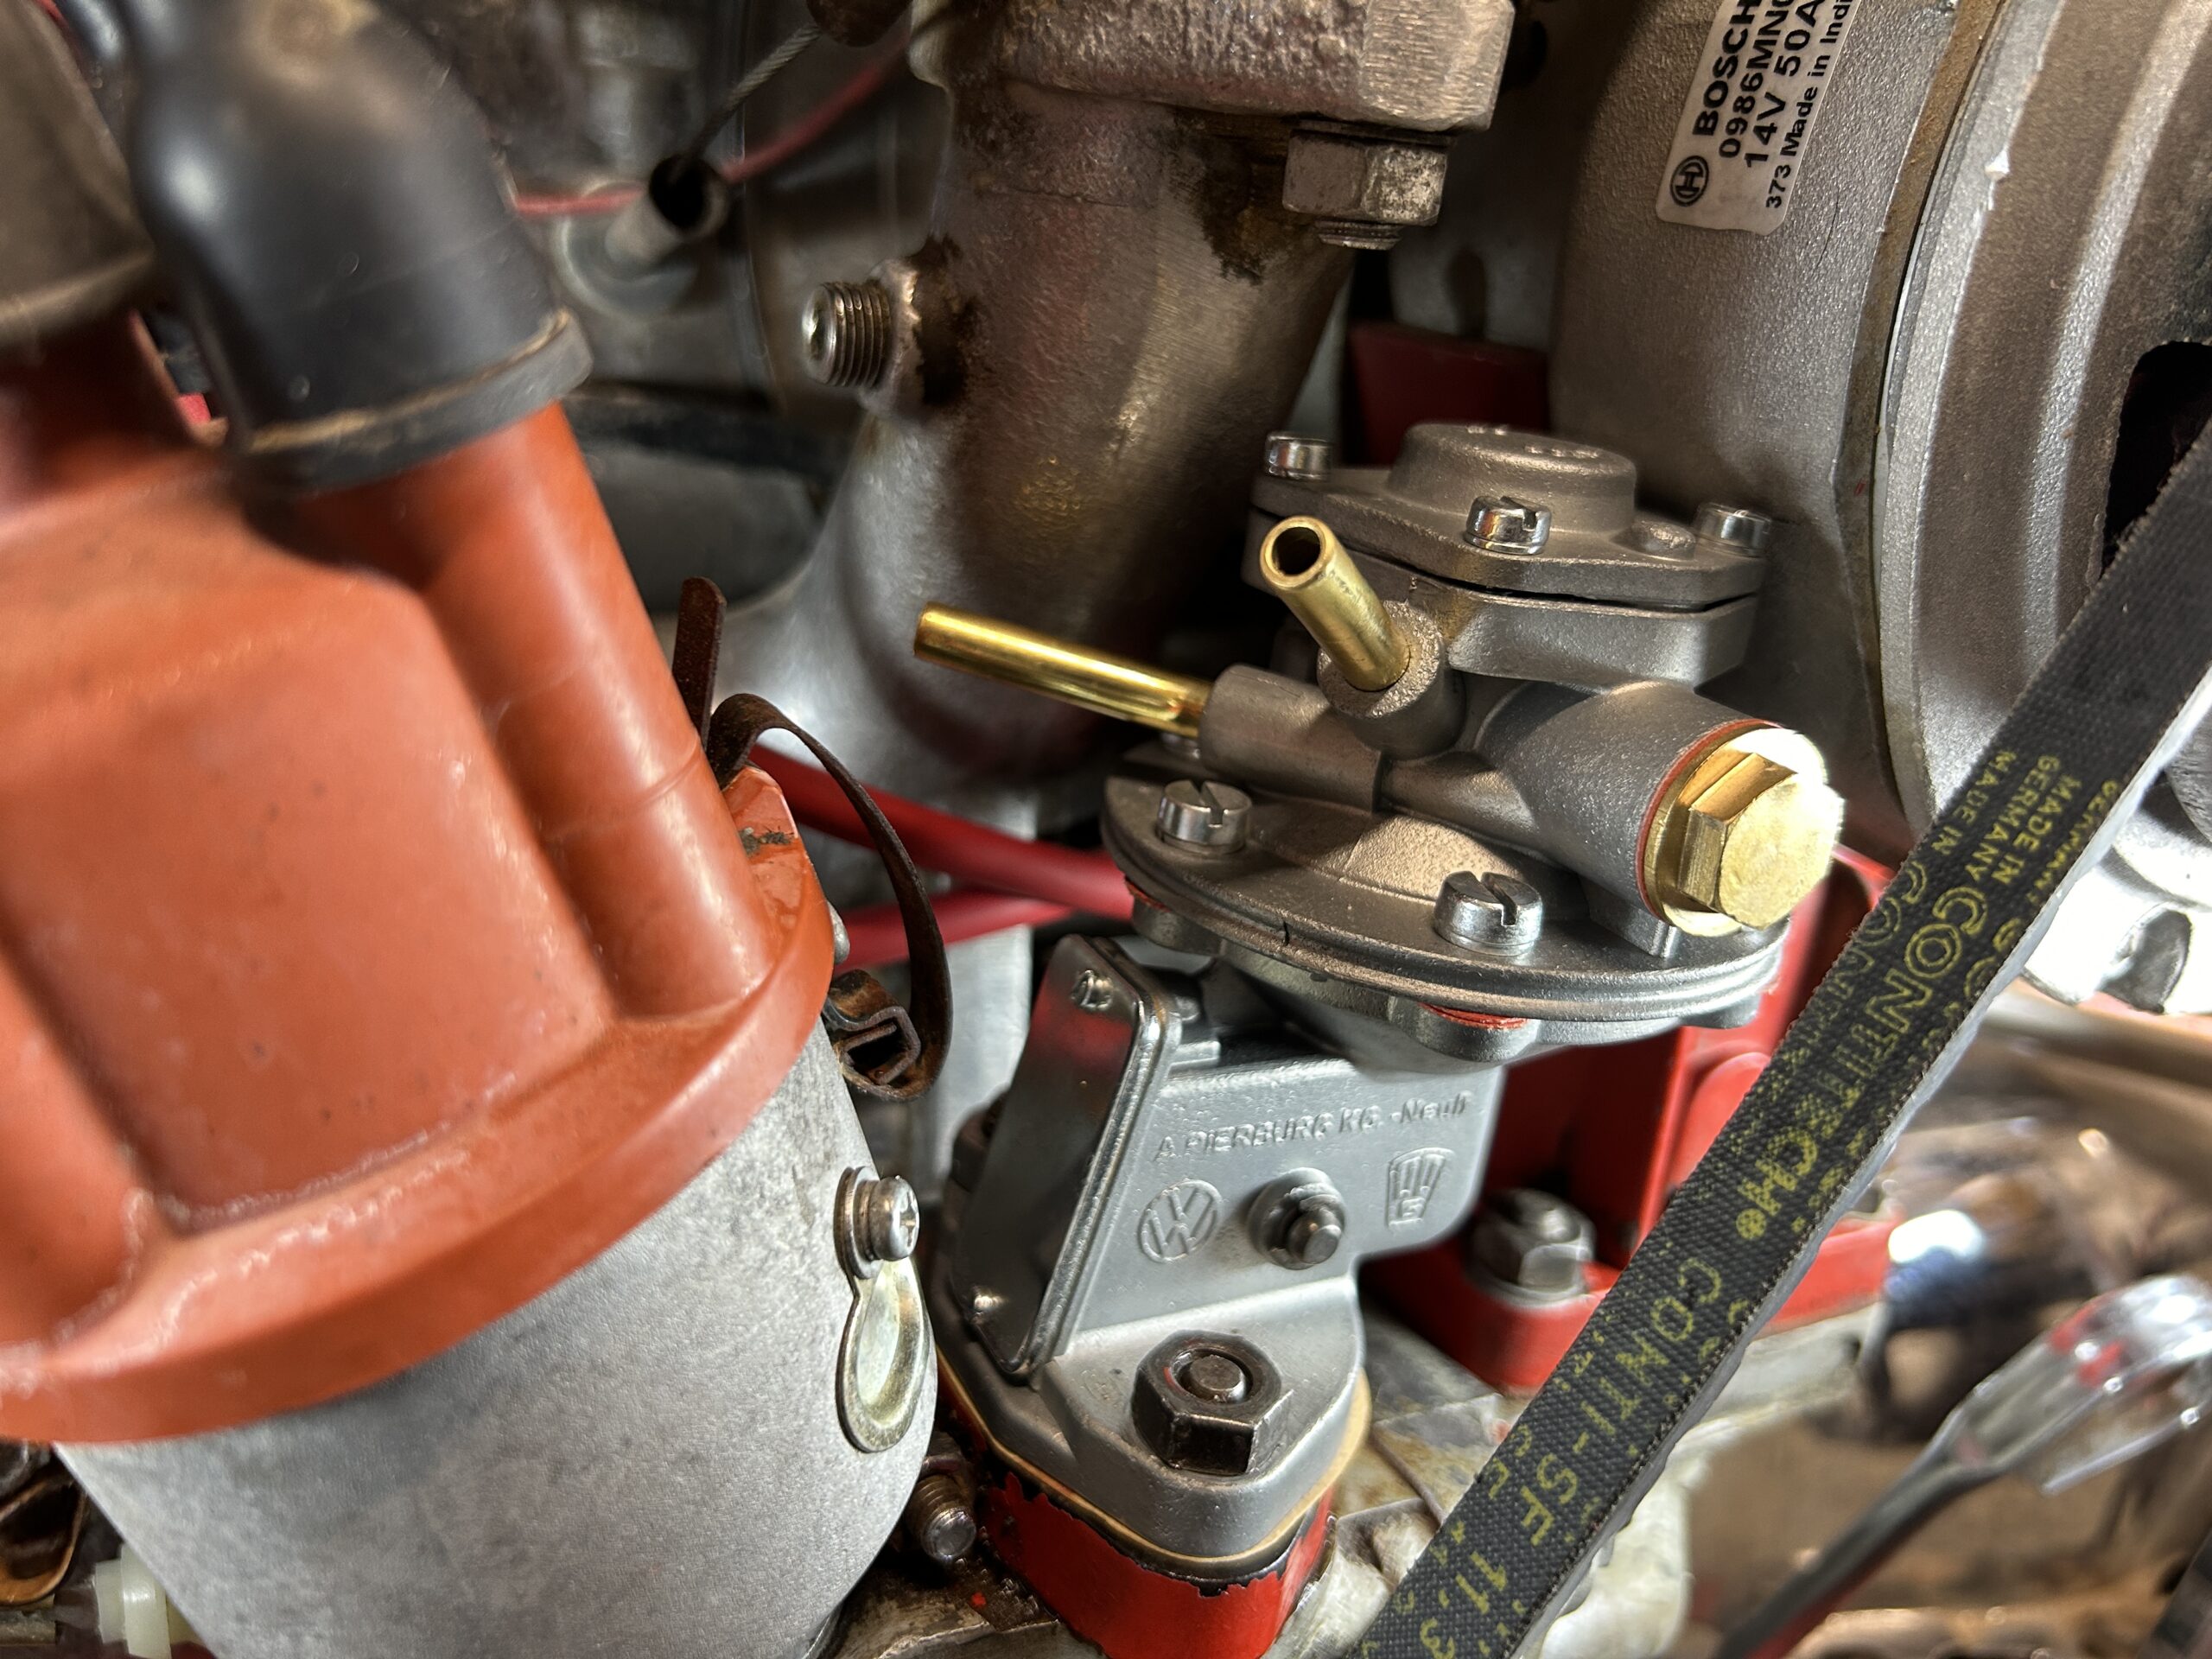
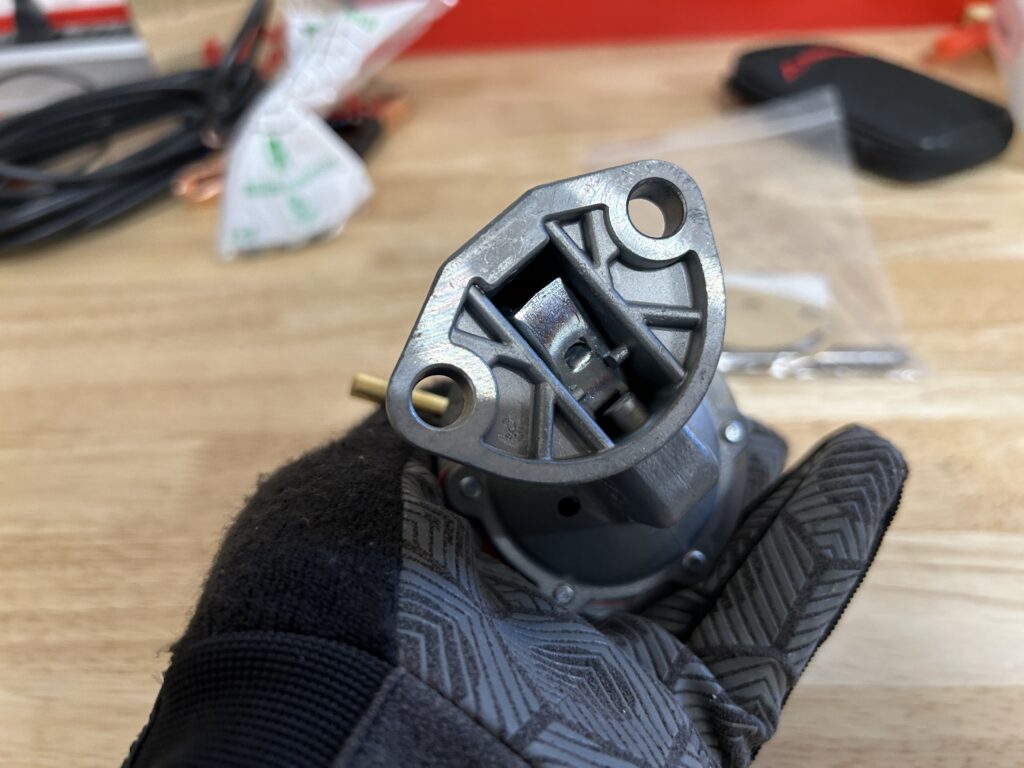
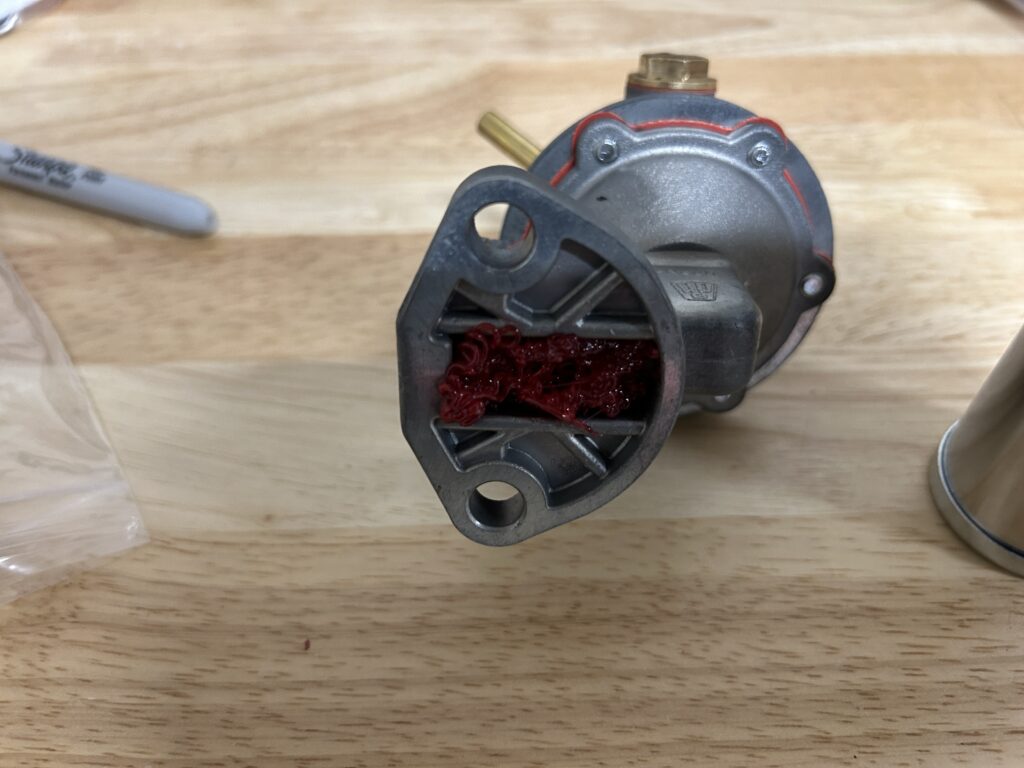
Then I removed the old pump, and cleaned up more of the gunk from the leaky old pump.

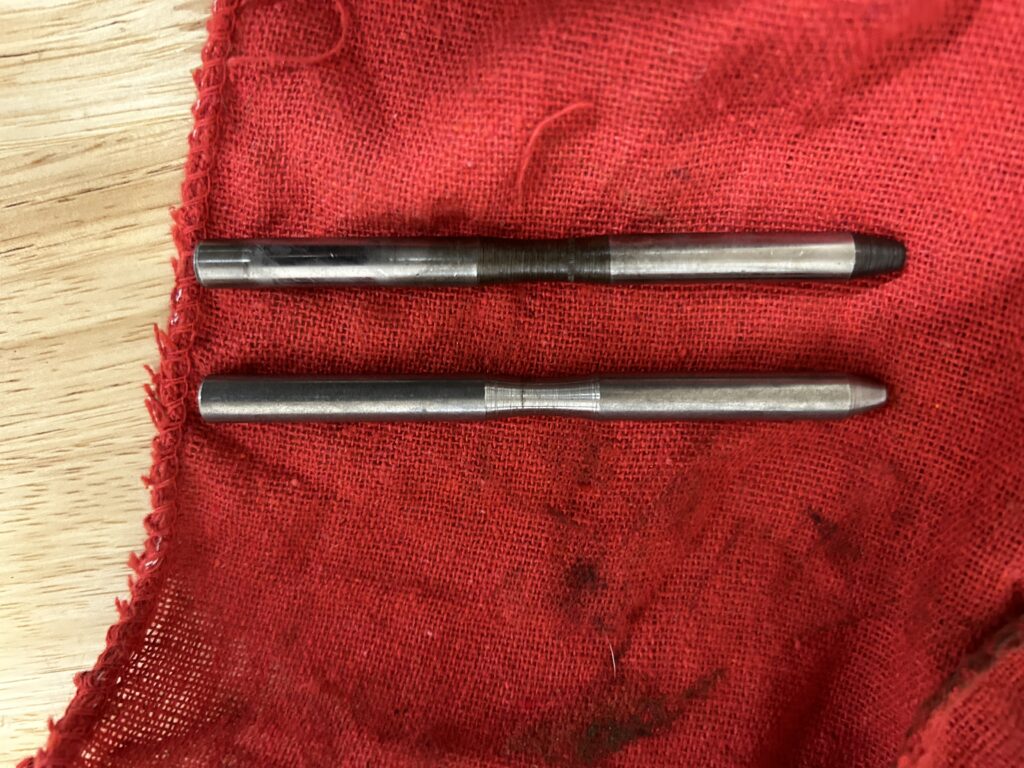
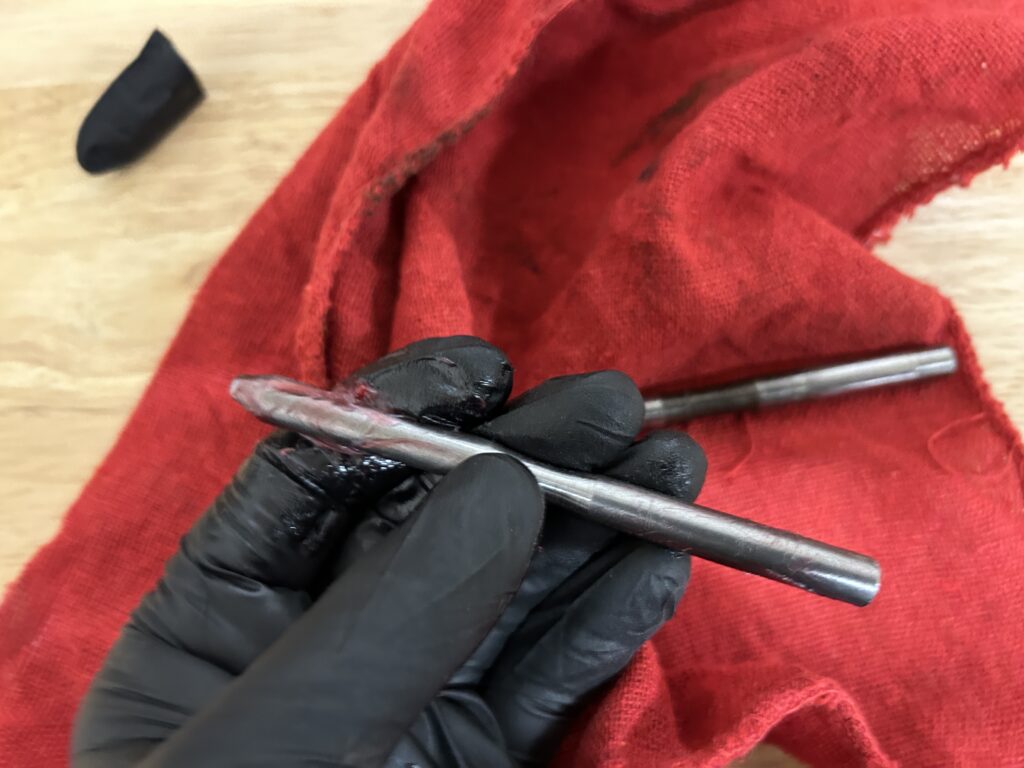
Next I readied the new push rod with grease and greased the center of the bottom of the pump. Also I made sure that the pushrods were the same length.
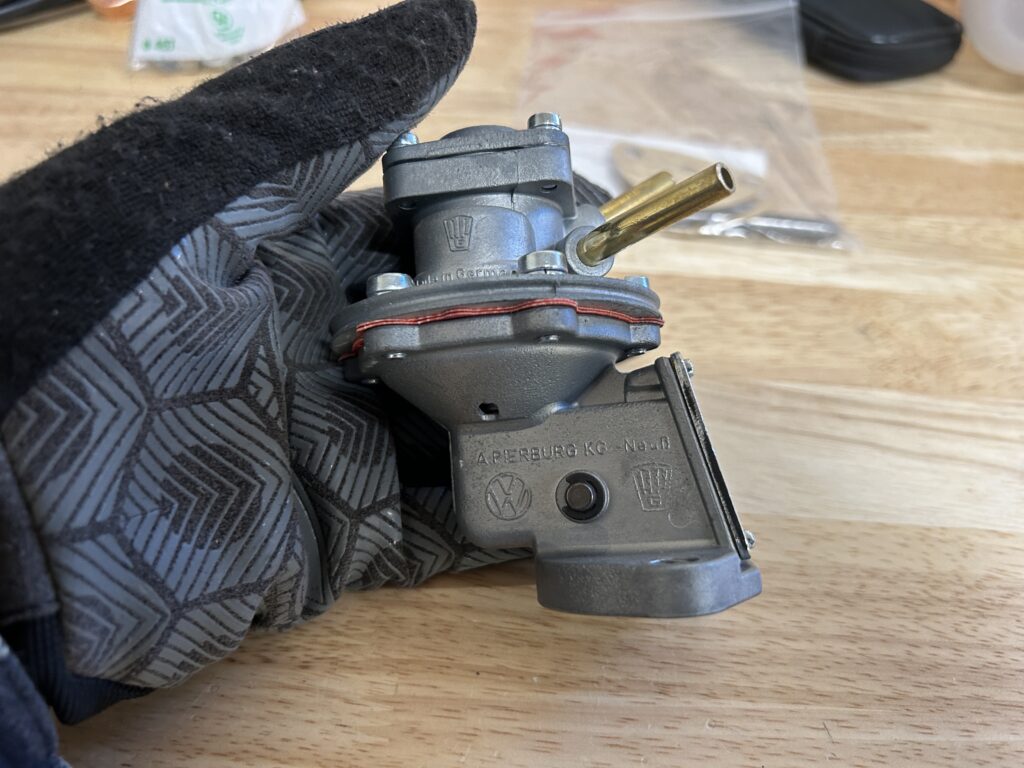
Next I removed the old gasket and replaced it with the new one. Cool deal, Bill from Sparx Werks includes them!
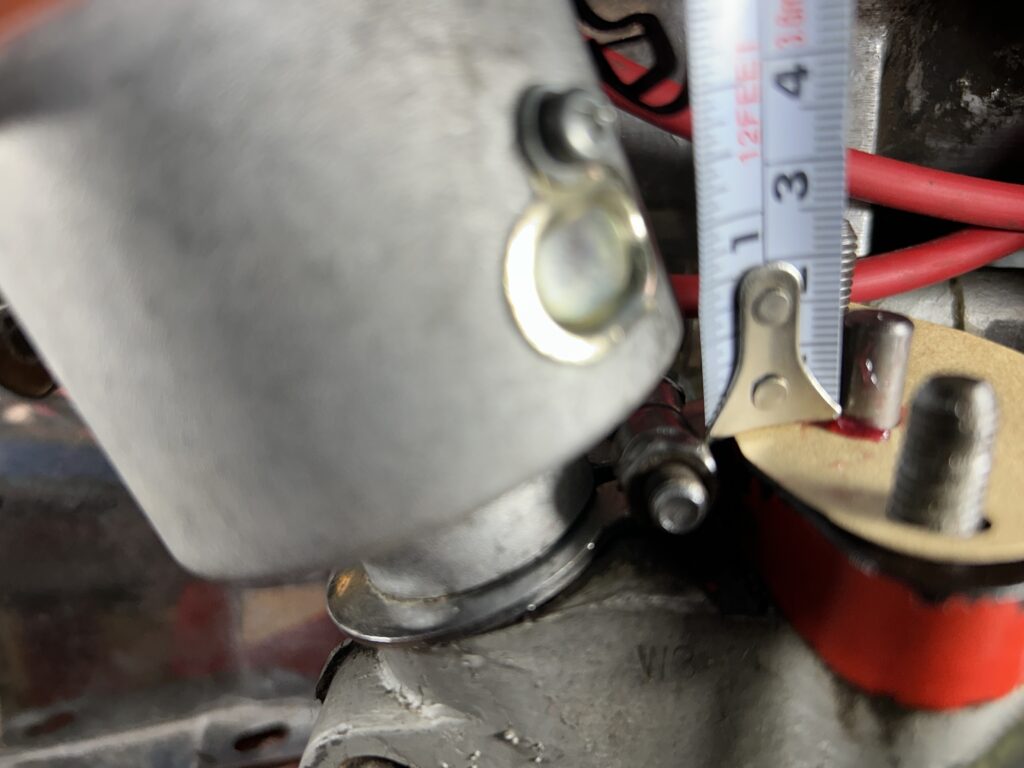
Then I inserted the pushrod, pointy end down and turned the motor over ensuring at it’s highest it was 13MM above the gasket.
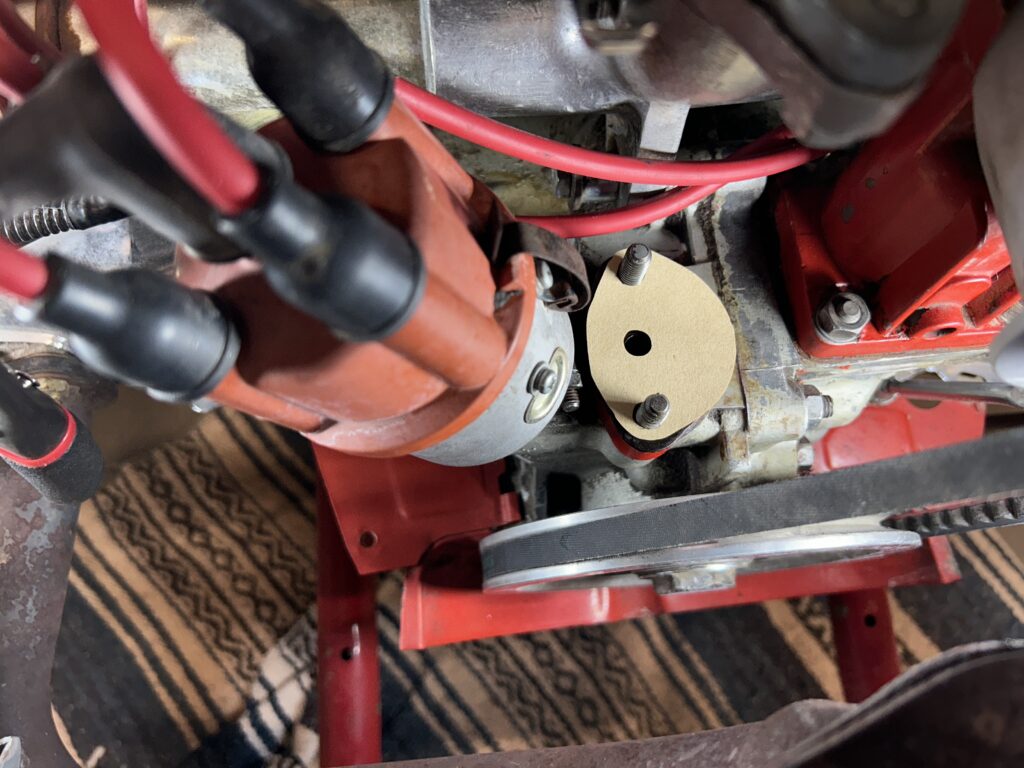
Now begins the easy and also tricky part. I put the new pump on and tightened down the nuts. Well… the front one was easy.
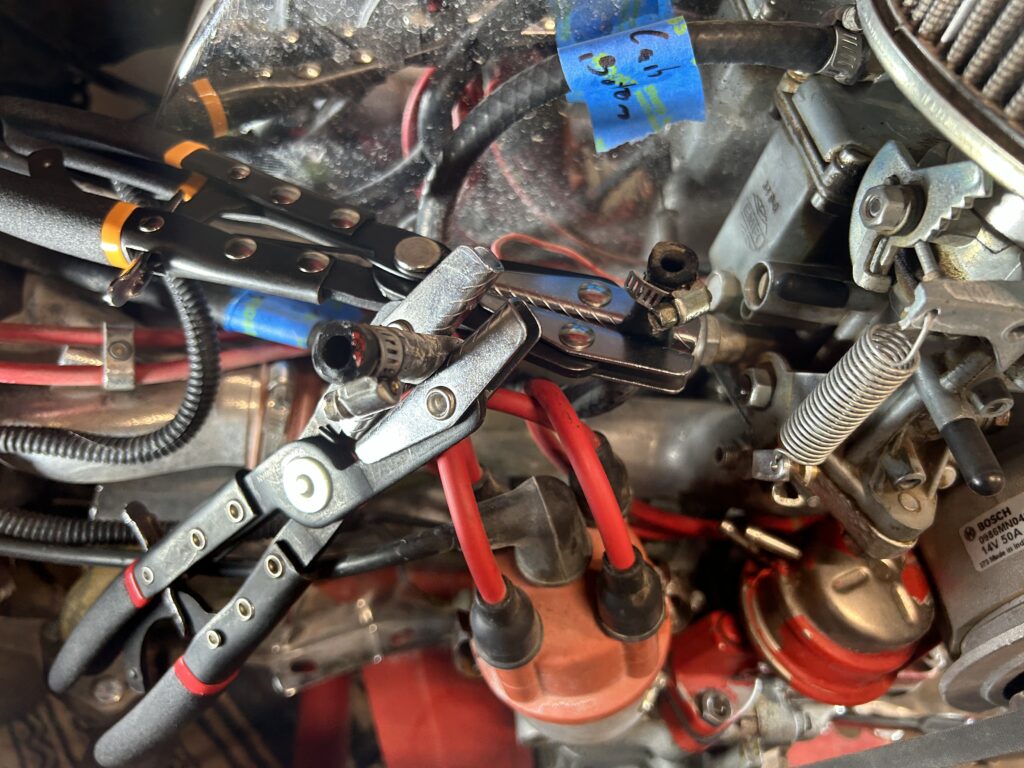
The back one was a pain. I tried using this trick, a small piece of towel in the socket to hold the nut in place. Alas it was just too much of an angle to get the nut started.
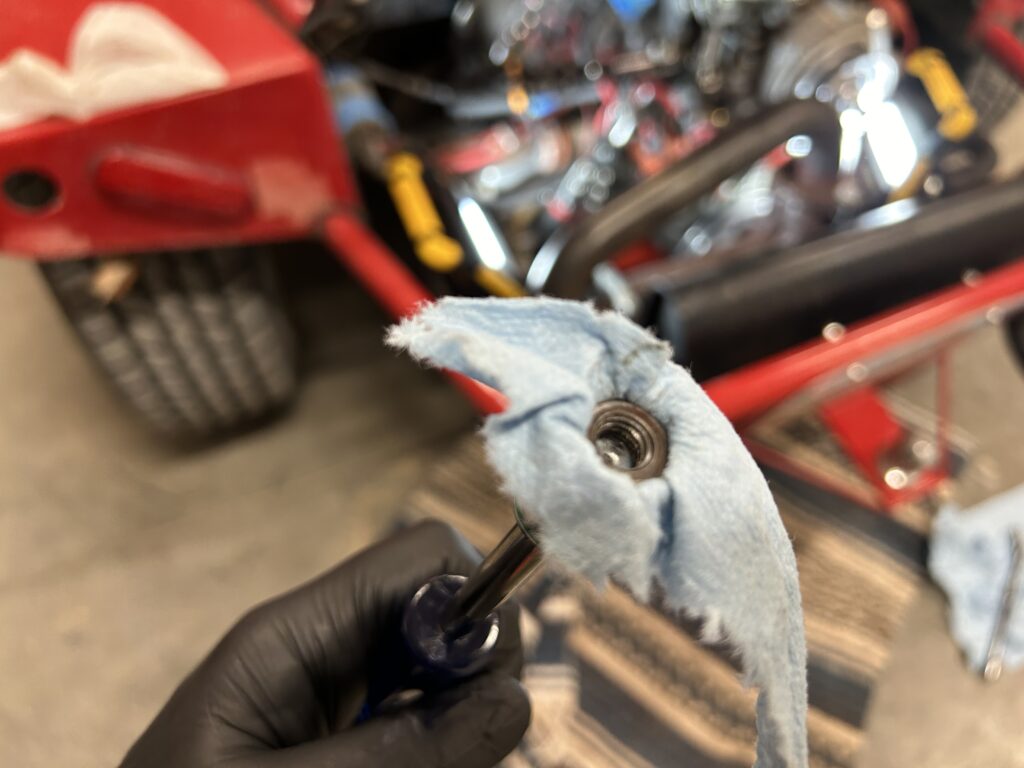
Then I tried more tricks, and eventually put the nut on using a Heyco Magnetic Pickup Tool, reached around the distributor and got it started. Again I used the 13mm half moon wrench to finish it off.

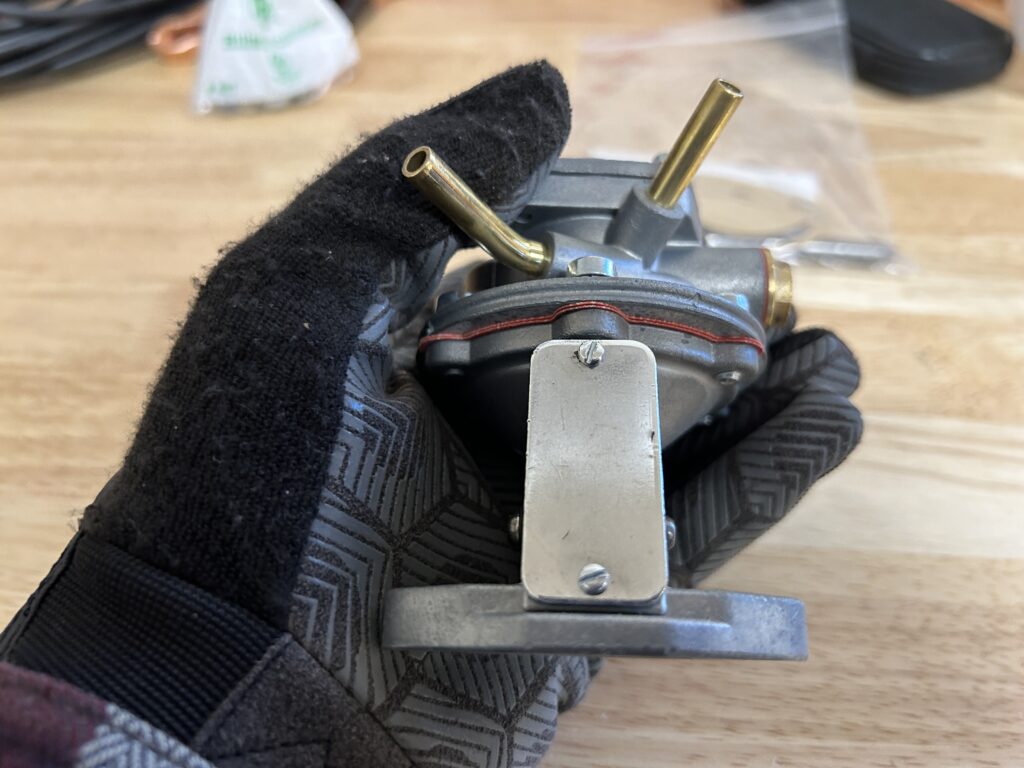
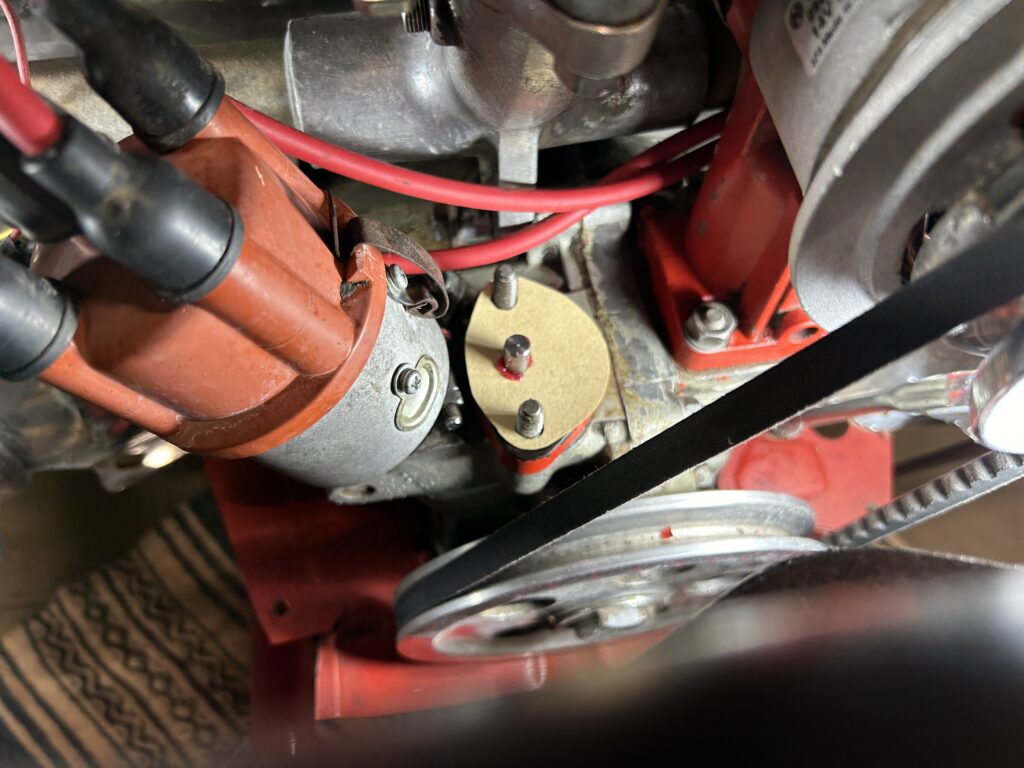
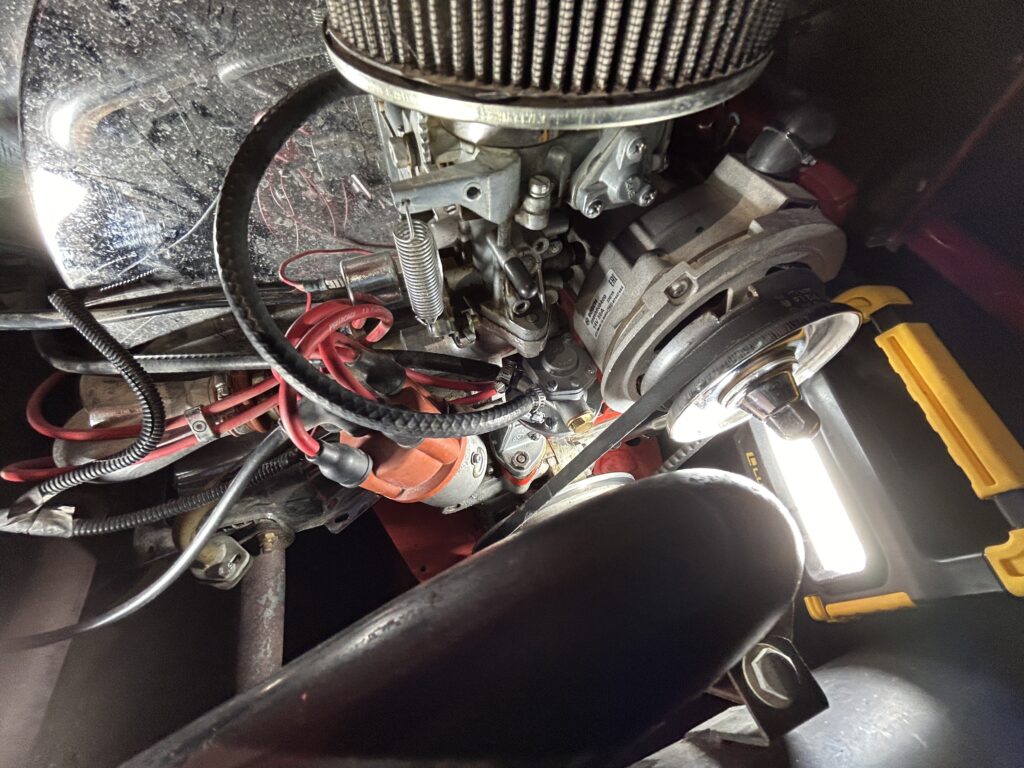
Look at that beauty! Now to hook up the fuel lines… I did this wrong, in one of the books it said to watch the orientation and repeat that when you put it back on. This was bad advice, so I won’t post pics. Sparx Wekrs Bill included in the email he sent with the tracking info that the lower inlet was input and the higher output. I made it 200′ down the drive and it ran out of gas because I forgot that info. No harm , no foul.
A quick fix of my error… input on the bottom output on the top. And I used new hose clamps for newness’s sake.
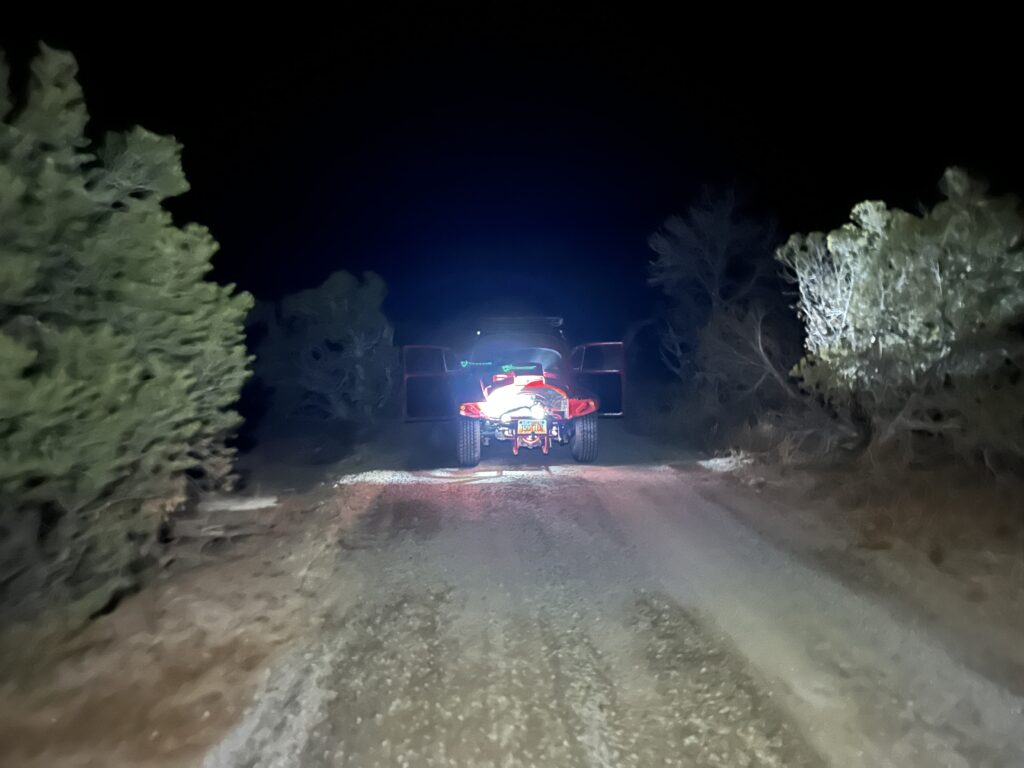
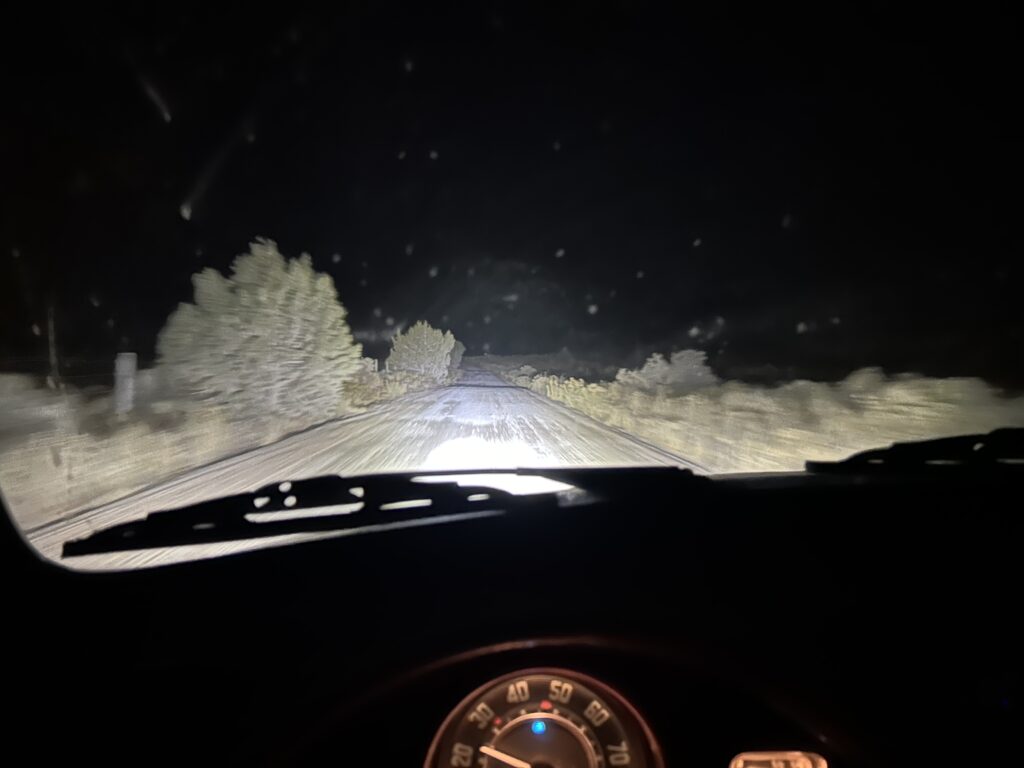
I started it again, checked for leaks and took a quick drive. I swear it even drives better now!
If you have made it this far, wow I am stoked you followed along. Is this the right way to do this? I am not sure. This is my most ambitious automotive project to date. Some people say use gasket sealant, some don’t. Some said don’t use grease, some said do… but it works!
Parts used:
- Sparx Werks Fuel Pump https://www.sparxwerks.com/shop
- Spark Werks Fuel Pump Pushrod https://www.sparxwerks.com/shop
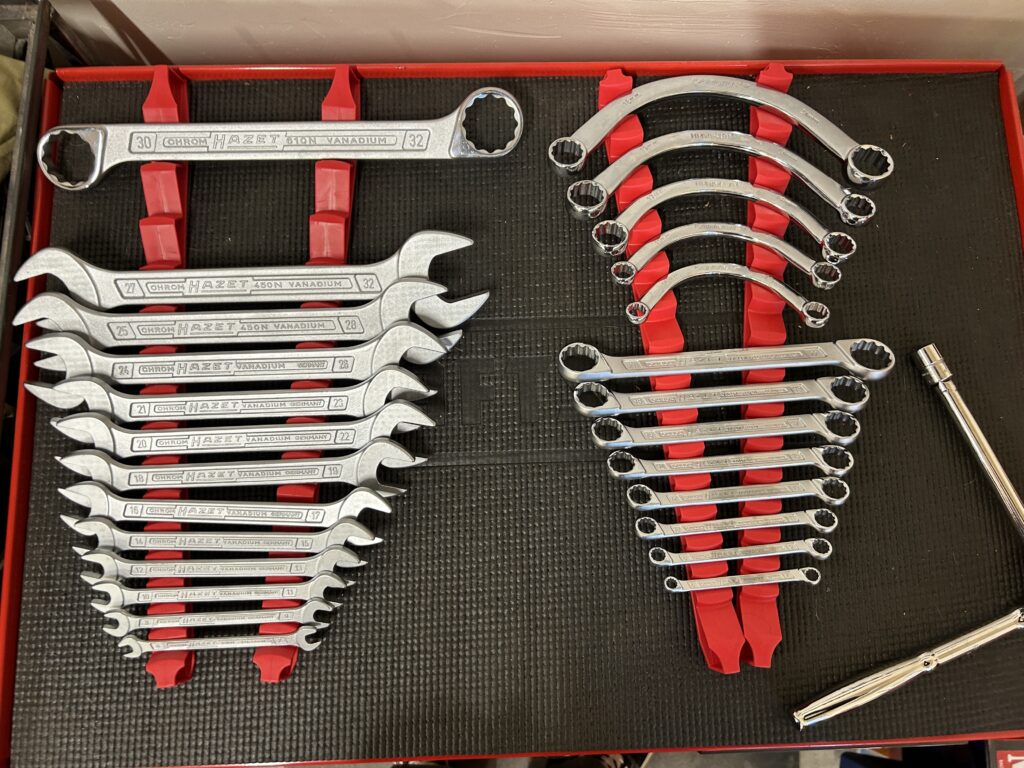
Tools used:
- 13mm socket
- Ratchet and extension
- Line pinch pliers
- 13MM half moon wrench
- 1/4″ nut driver for hose clamp
- Grease
Comments