
I am pretty sure there were no Baja Bugs within 100 miles of where I grew up, but I did grow up when Tamiya made the coolest RC cars. And what did all of these RC cars have in common? That’s right, they were sand rails with KC Daylighters on them.
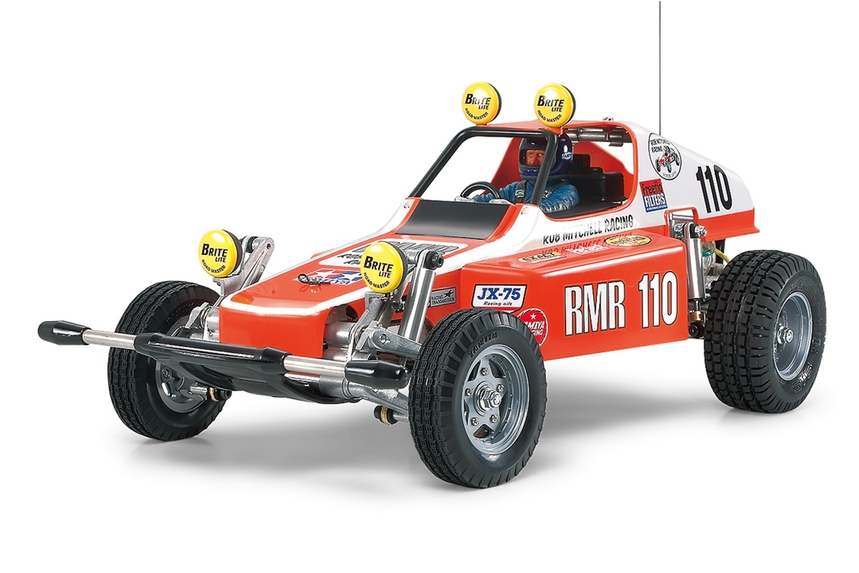
What was the first thing I did when I got my baja? Yup I put on a roof rack, lights and wired up an S-Pod controller.

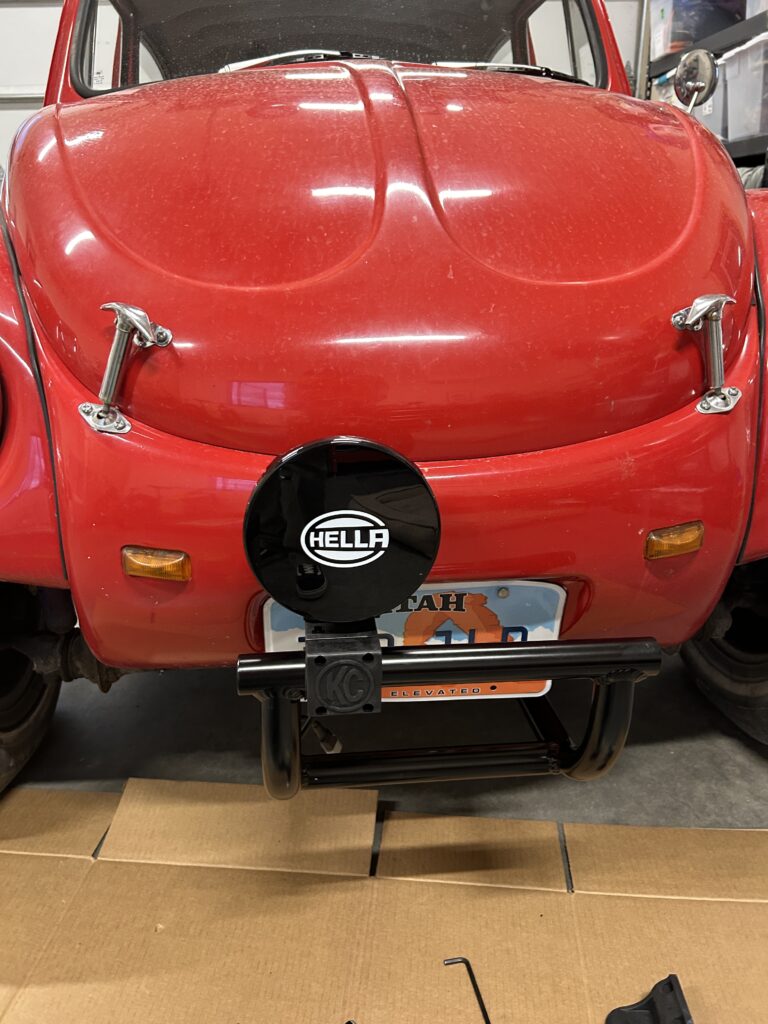
The lights I used are Hella ValueFit LEDs. I had them on my Vanagon and really liked them. At $150 they are a deal too. I had the local boat shop make me an aluminum mount after the Chirco one I got was not remotely fitting. Even though I have VintageLED lights in the baja, these really light up the road.
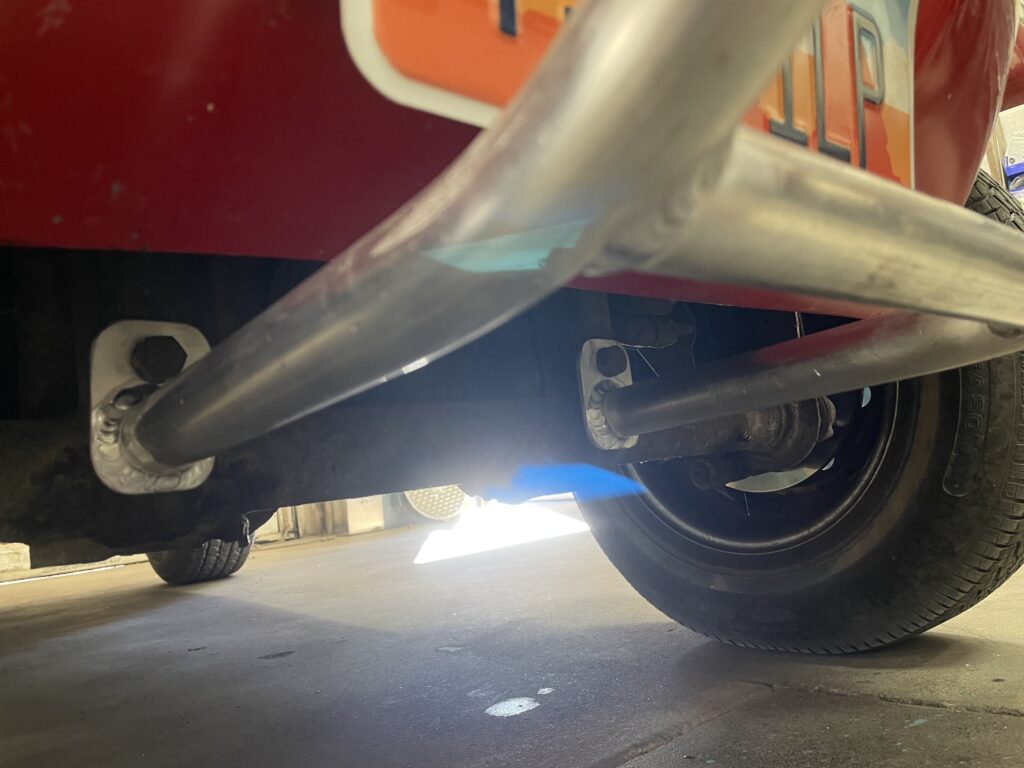
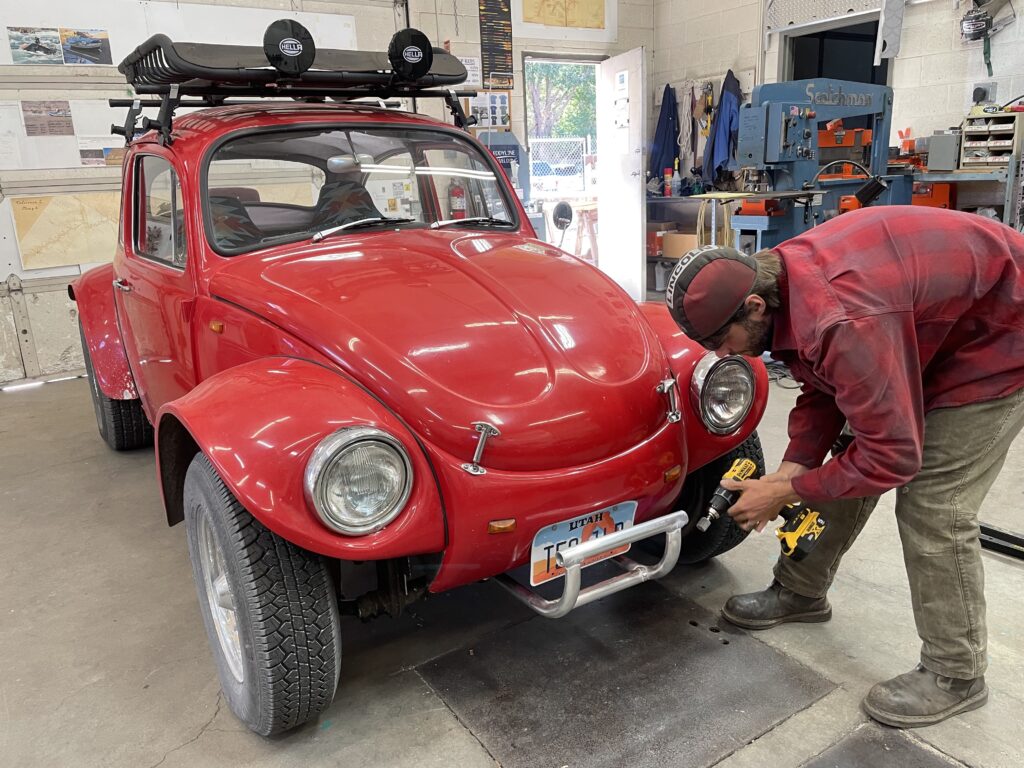
Then I had it painted and I mounted it up and using KC mounts to put the lights on. They are great. But… what about the roof lights?
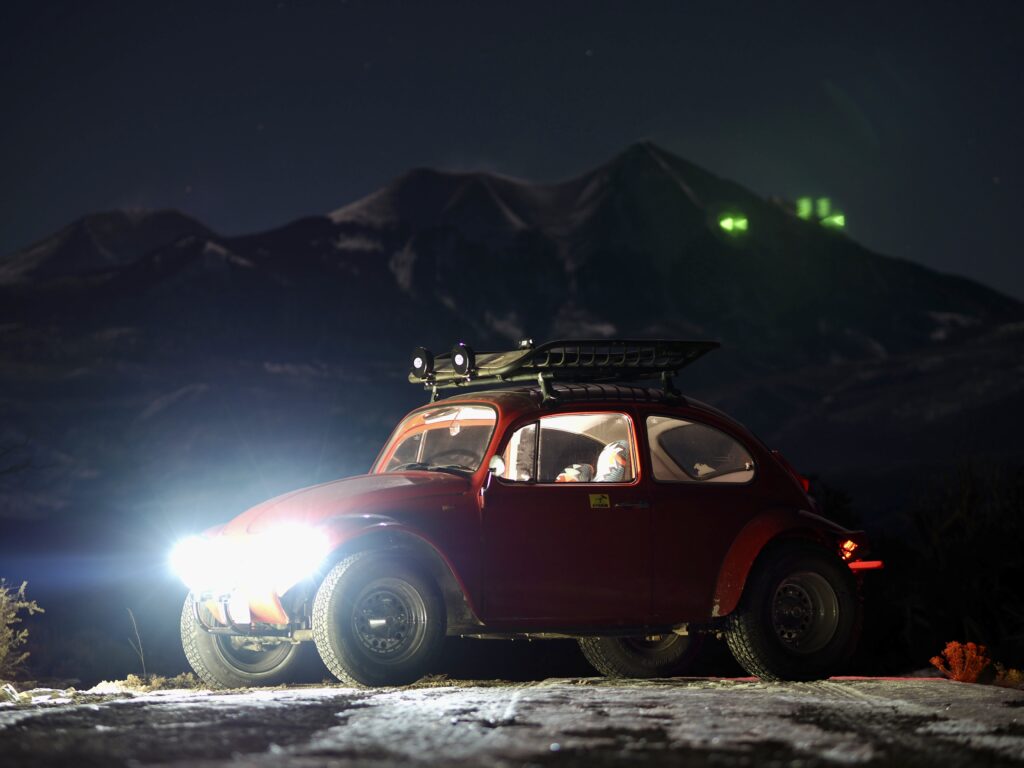
I think the cleanest way, without modifying the body will be to go up the rear rain gutter and onto the roof. I have two more Hella ValueFit LEDs on the front and one rectangular one in the rear of the rack for use as a reverse light, 66 beetles did not have reverse lights as far as I know. So that means 4 wires to the roof:
- Ground
- Reverse light (+)
- Low bean (+)
- High beam (+)
I was able to order one cable with 4 conductors (wires) making for a clean run from the S-Pod up to the roof. But then I need to split the wires to something like:
- Reverse (2 wires)
- Left front (3 wires)
- Right front (3 wires)
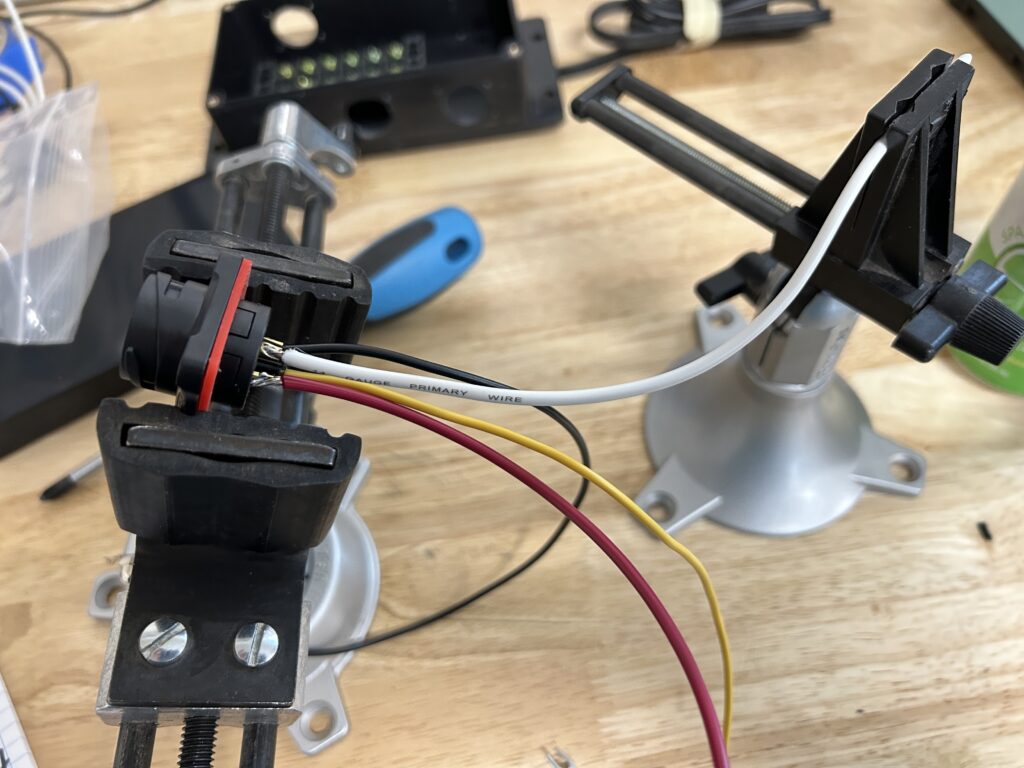
My plan was to send the 4 conductor wire to a waterproof project box using waterproof connectors and send that out to each light using waterproof connectors.

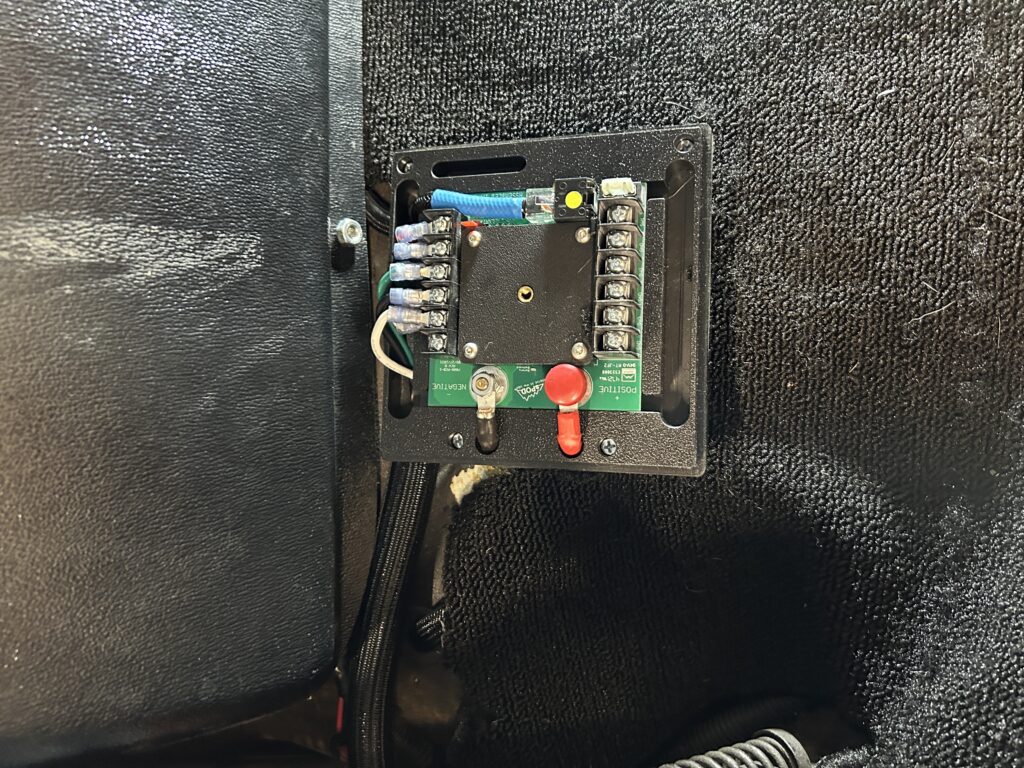
Finally we get to part 1 where I wire up the junction box.
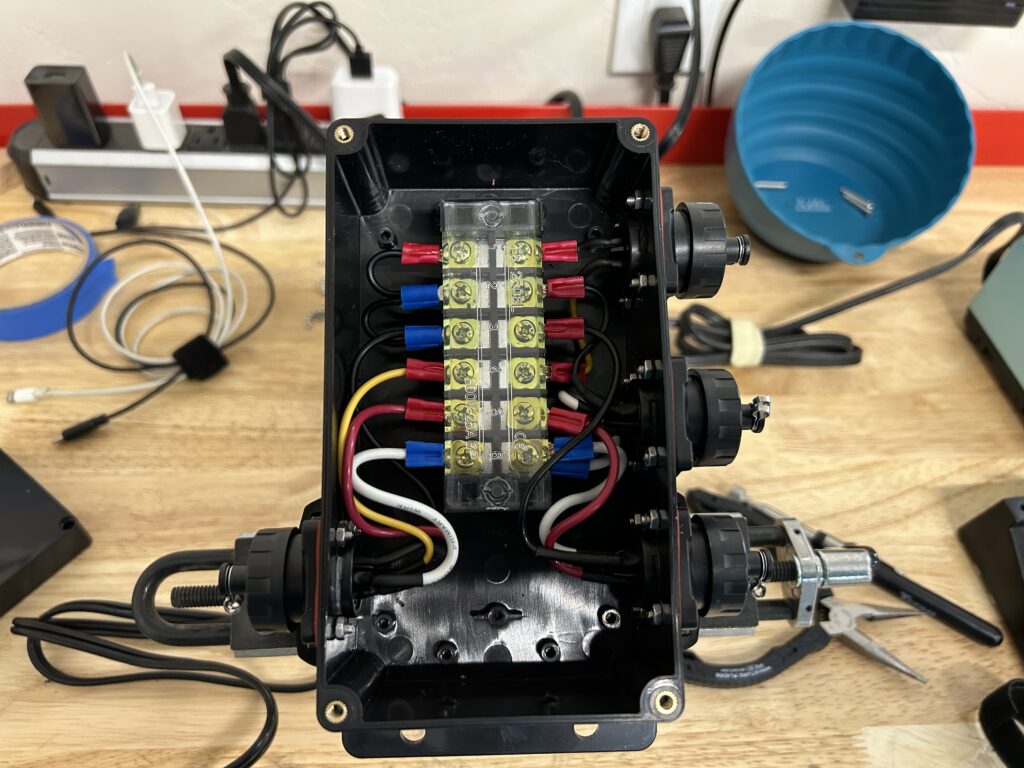
First thing I was put in the 6 terminal block. I planned on using 2 3 terminal blocks, but this one fit right on the standoffs in the box. Meaning no holes through the box to attach the terminal block.


Next I had to drill the holes in the project box for the CXLINKO waterproof connectors. Each one required a center hole and 4 holes for the teeny tiny 4mm nuts and bolts.The 4 wire input was put in off to one side to allow more room for wire routing.

On the opposite side I put in 3 more waterproof connectors for the output, one 2 wire and two 3 wire for the front LEDs. I also positioned the shopvac right at the dremel because plastic flakes were flying.

Now you have to soder the wires onto the plugs, if you tin them before putting them in the plug it creates a better joint.
I also used heat shrink on them because it seemed like the right thing to do.

Then I crimped the cables and made my way around the box with all the connectors. Honestly the trickiest part is the 4MM bolt that goes on each tiny screw.
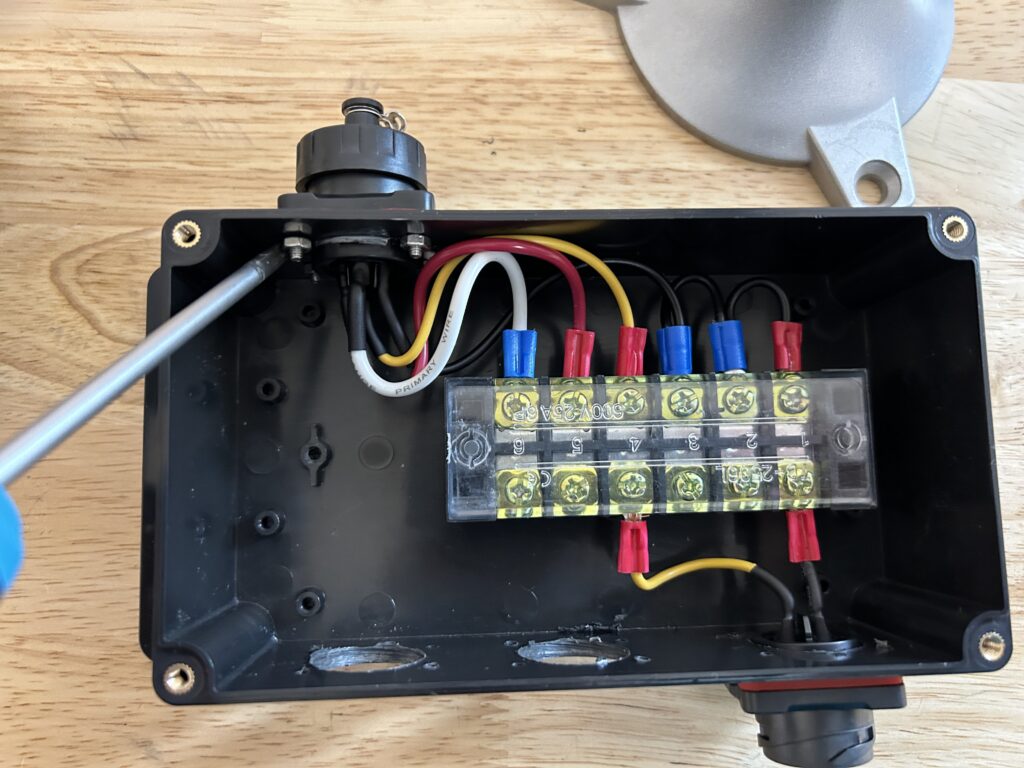
And after a lot of crimping and soldering here we have the junction box.

I did replace the screws that came with the box with stainless ones, just because.
OK so now I have to wire up the lights then run wire to the sPod and maybe replace the battery to sPod cable with a longer one. But so far, still fun and it is gonna be great. So much like the RC car I had.
Parts:

- Zulkit Junction box https://www.amazon.com/dp/B081M21FN1
- Uxcel 3 pole terminal blocks https://www.amazon.com/dp/B07DM1598F
- CNLINK0 2 pin connector, 2 x 3 pin , 4 pin connector https://www.amazon.com/dp/B0825HYND8?
- 14G 4 wire cable https://www.amazon.com/gp/product/B0C69G8PR5
- KC Hideawire https://www.amazon.com/gp/product/B093HJJ36F
- Hella ValueFit LED lights https://www.amazon.com/gp/product/B016VAMUIM
- Hella Valuefit LED light https://www.amazon.com/dp/B07JFM9J6M/
Thanks for reading!
Comments