
Ever since I got my beetle there has been one thing bugging me, the indicator light for the turn signals did not work. You can read this post for my first attempt at fixing it. TL;DR; the previous owner replaced the actual turn signals with LEDs, this makes the relay function incorrectly if you use the 12v in dash light bulb since the current draw is too low.
However, I am a creature of habit and went into my “toolbox”, which is stupid IoT devices. I really wanted that light to work. I used a Sparkfun Redboard (Arduino Clone), an Adafruit Current and Power Sensor and a Sparkfun Qwiic Relay. Now I know when my blinker is on.

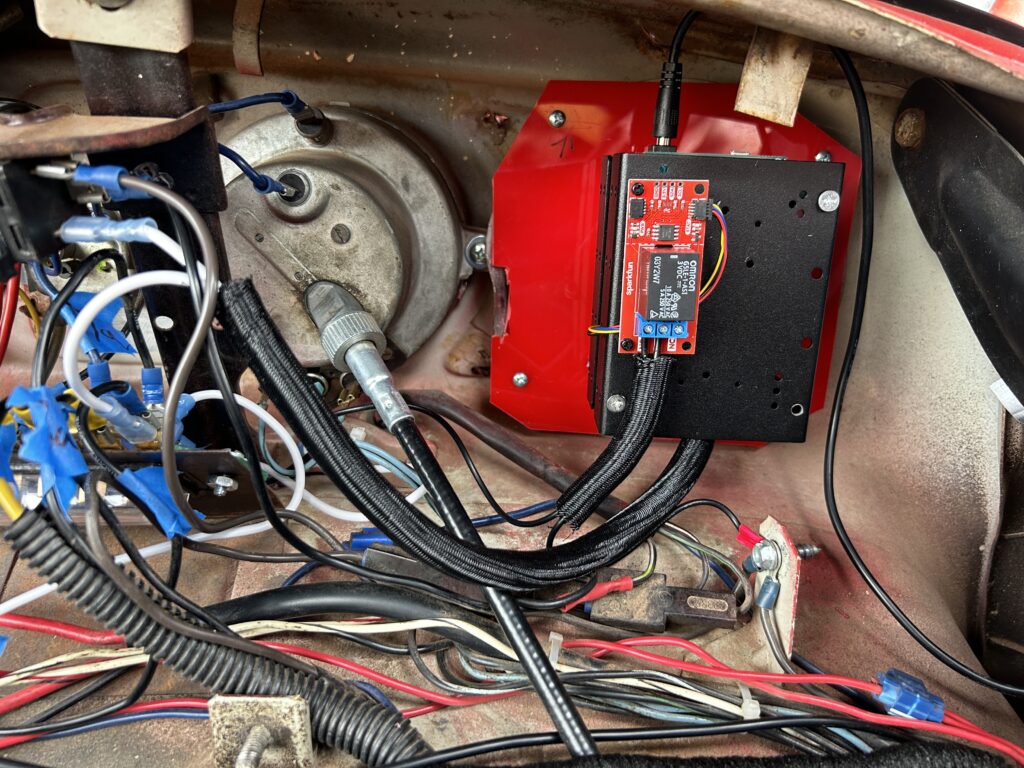
How this works, the wire from the fuse block to the relay is replaced with a wire going to the Adafruit INA260, then out to the relay. This is isolated and only monitors current, which does not impact the fragile balancing act of the relay.

Initially I tried this with a Sparkfun Hall Effect sensor, but I’ll be god damned if I could make that work. I switched to the Adafruit and everything worked as planned.

Next I tried an LED which I insulated and put in the speedometer for the indicator, but it was not wide enough to light the arrows up evenly. And why did i switch from the smaller Pro Micro to the larger Red Board? The Red Board will take an input of 7-16V so I didn’t need a USB adapter to power it. Downside, the device is larger, but then I could use a proto shield, so that was nice.

The proto shield lets you solder on your wires making a permanent project that can be driven and not worry about wires loosening up. The relay is wired to ground, and then the light bulb in the speedometer. When the blinkers activate the current draw increases, the arduino then sets the relay on and the blinkers work.

I used some longer wires to test the functionality, then trimmed them to fit.

I chose to mount it to the little plastic speaker grill cover and I think it looks tidy.
Video here.
You can find the code here: https://github.com/joemcmanus/BeetleBlinkerProject
Parts used:
- Sparkfun Redboard https://www.sparkfun.com/products/15123
- Sparkfun Qwiic Relay https://www.sparkfun.com/products/15093
- Adafruit INA260 https://www.adafruit.com/product/4226
- Arduino Proto Shield https://www.amazon.com/dp/B087BWJZ4K
- Project Box https://www.amazon.com/dp/B08PZCC562
- JBugs Dash Light Socket https://www.jbugs.com/product/113957397.html
- JBugs Dash Light Bulb https://www.jbugs.com/product/N177222.html
Comments